
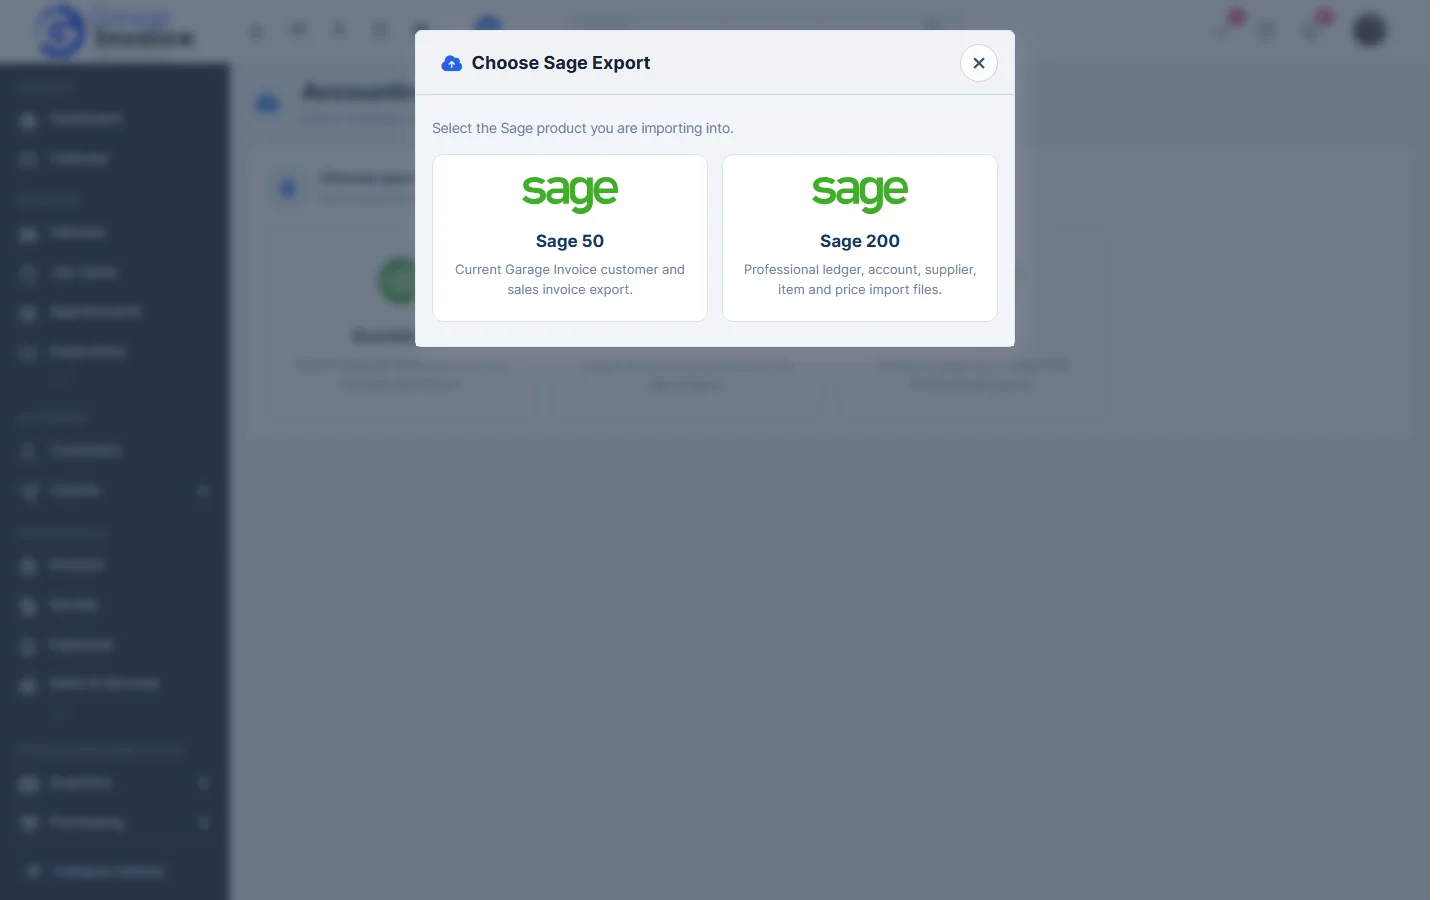
- Click Reports in the sidebar (under Insights) and click Accounting Export., click Sage and choose Sage 200.
- The cards at the top show how many Tax codes and Cash book mappings are mapped and the Transaction export currency.
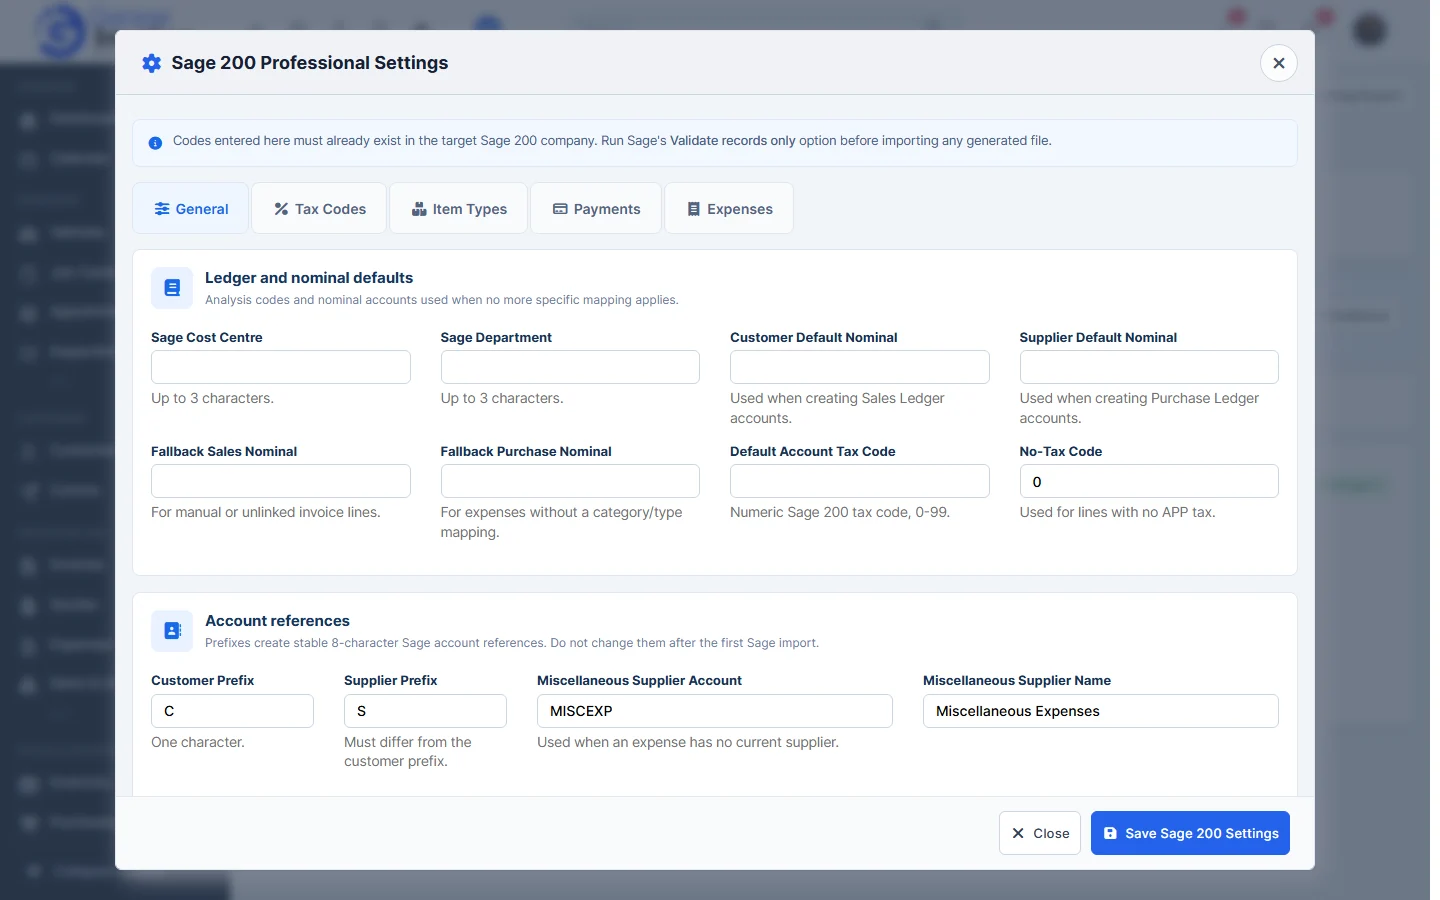
- Click Sage 200 Settings and fill in the tabs General (cost centre, department, default nominals, account prefixes, account terms and stock defaults), Tax Codes, Item Types, Payments and Expenses. Codes must already exist in your Sage 200 company. Click Save Sage 200 Settings.
- Choose what to export with the tabs: Sales invoices, Payments, Expenses, Customers, Suppliers or Items. Enter Date From and Date To where asked.
- Click Run Preflight to check the records. Then click the download button, for example Download Sales CSV.
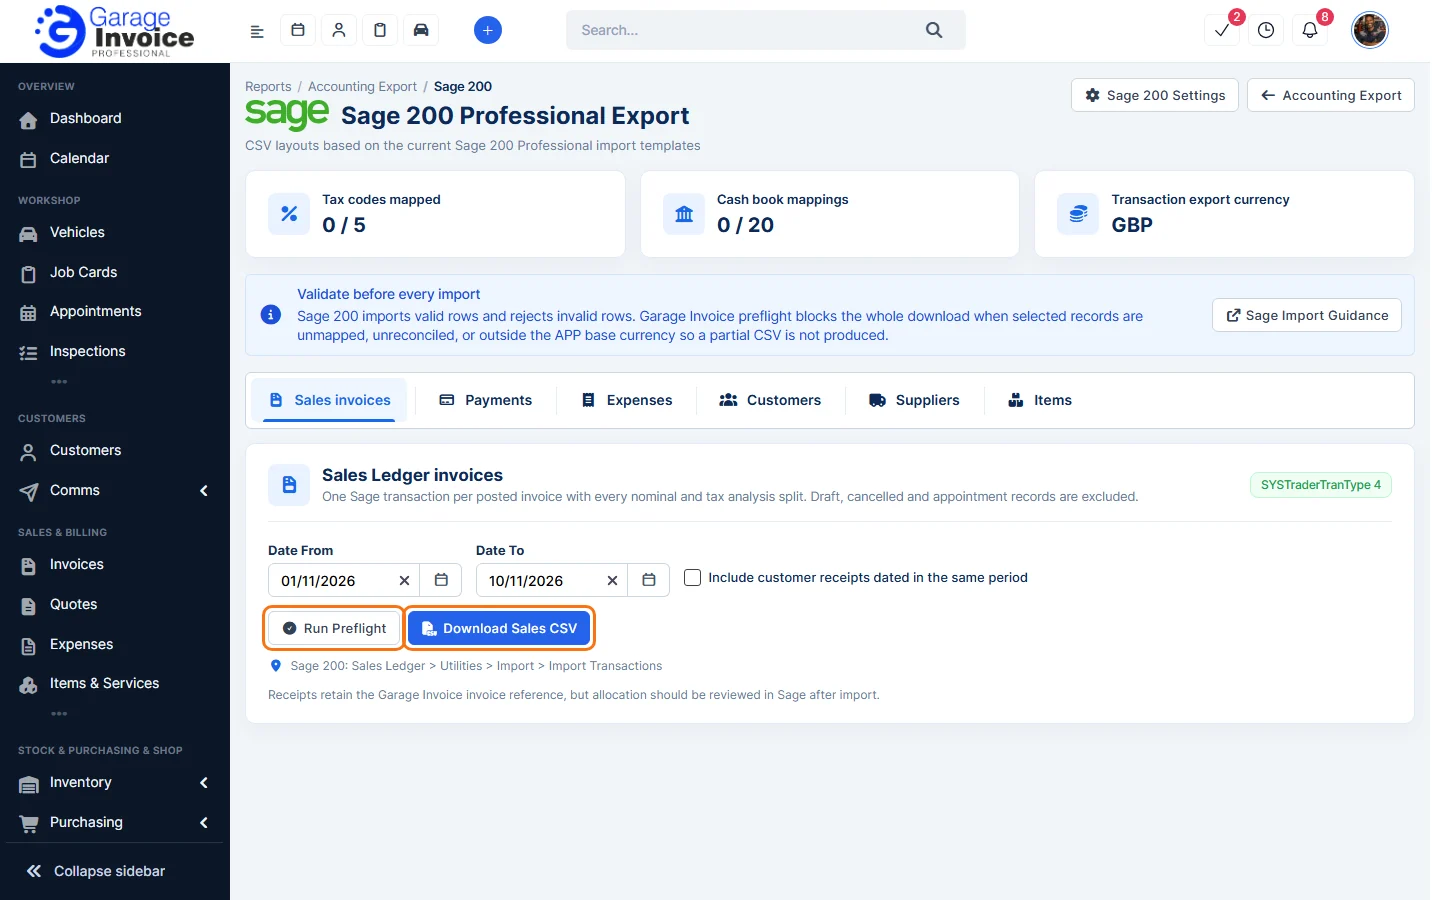
- In Sage 200, import the file where the page tells you, for sales invoices Sales Ledger > Utilities > Import > Import Transactions.
Note: the preflight blocks the whole download if any selected record is unmapped, unreconciled or not in your base currency, so you never get a half-finished file. Run Sage’s Validate records only option before each import.
Tip: click Sage Import Guidance for Sage’s own import steps.
See also: Accounting Export Overview · Sage 50 invoices
Feature Garage reports: see what it does and how it fits your workshop.