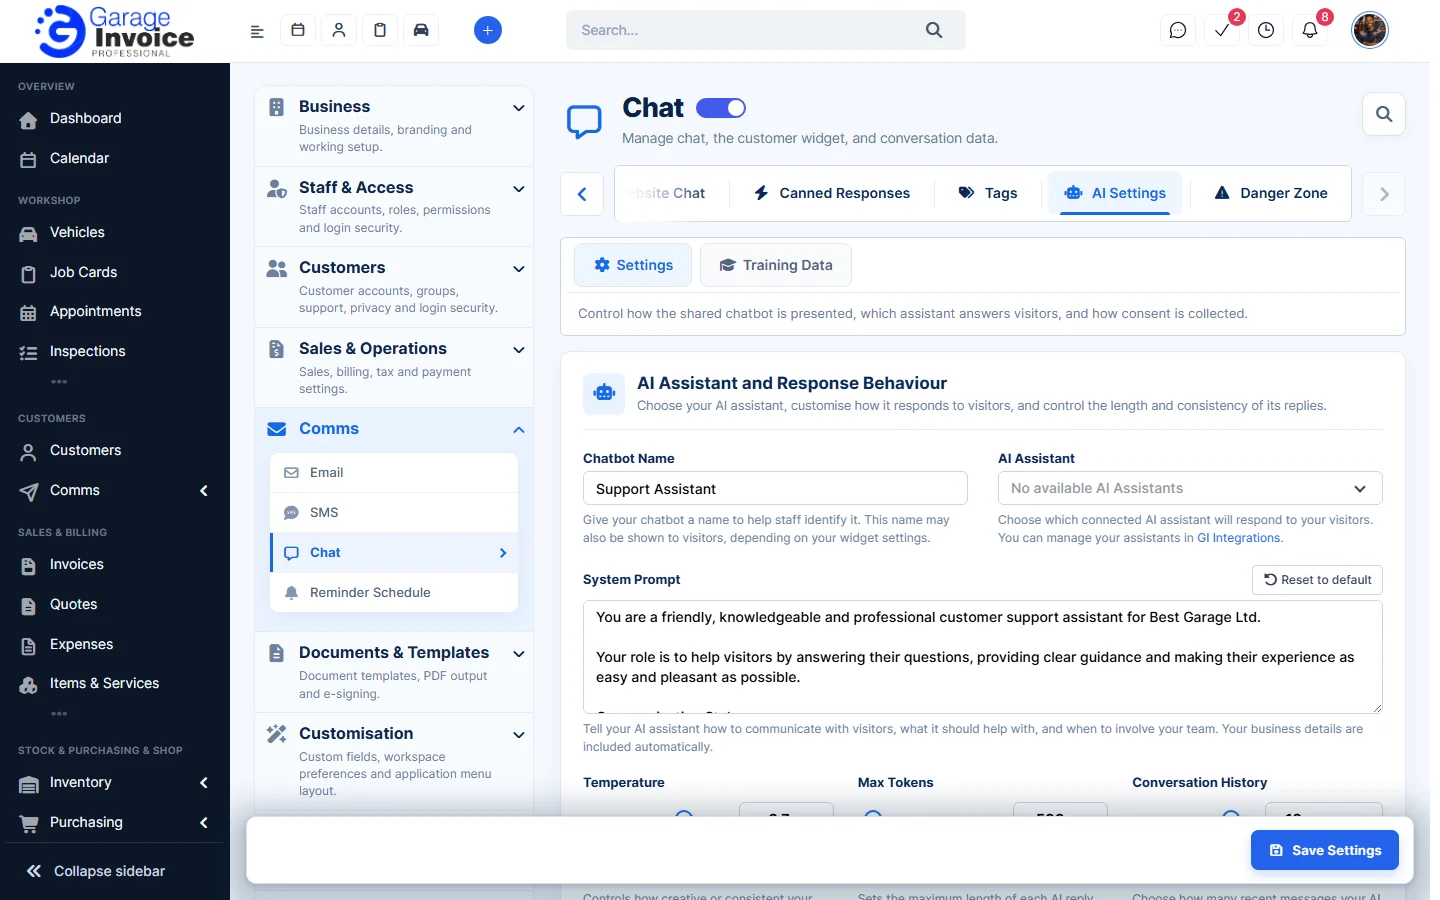
- Click Settings, open Comms and click Chat. Make sure chat is on (see Activate Chat for Staff and Customers).
- On the General tab, under Website Chat, set Enable Website Chat to Yes. Choose whether to Use AI Assistant and whether to use it only outside business hours.
- Click the Website Chat tab and choose how the chat bubble looks and works:
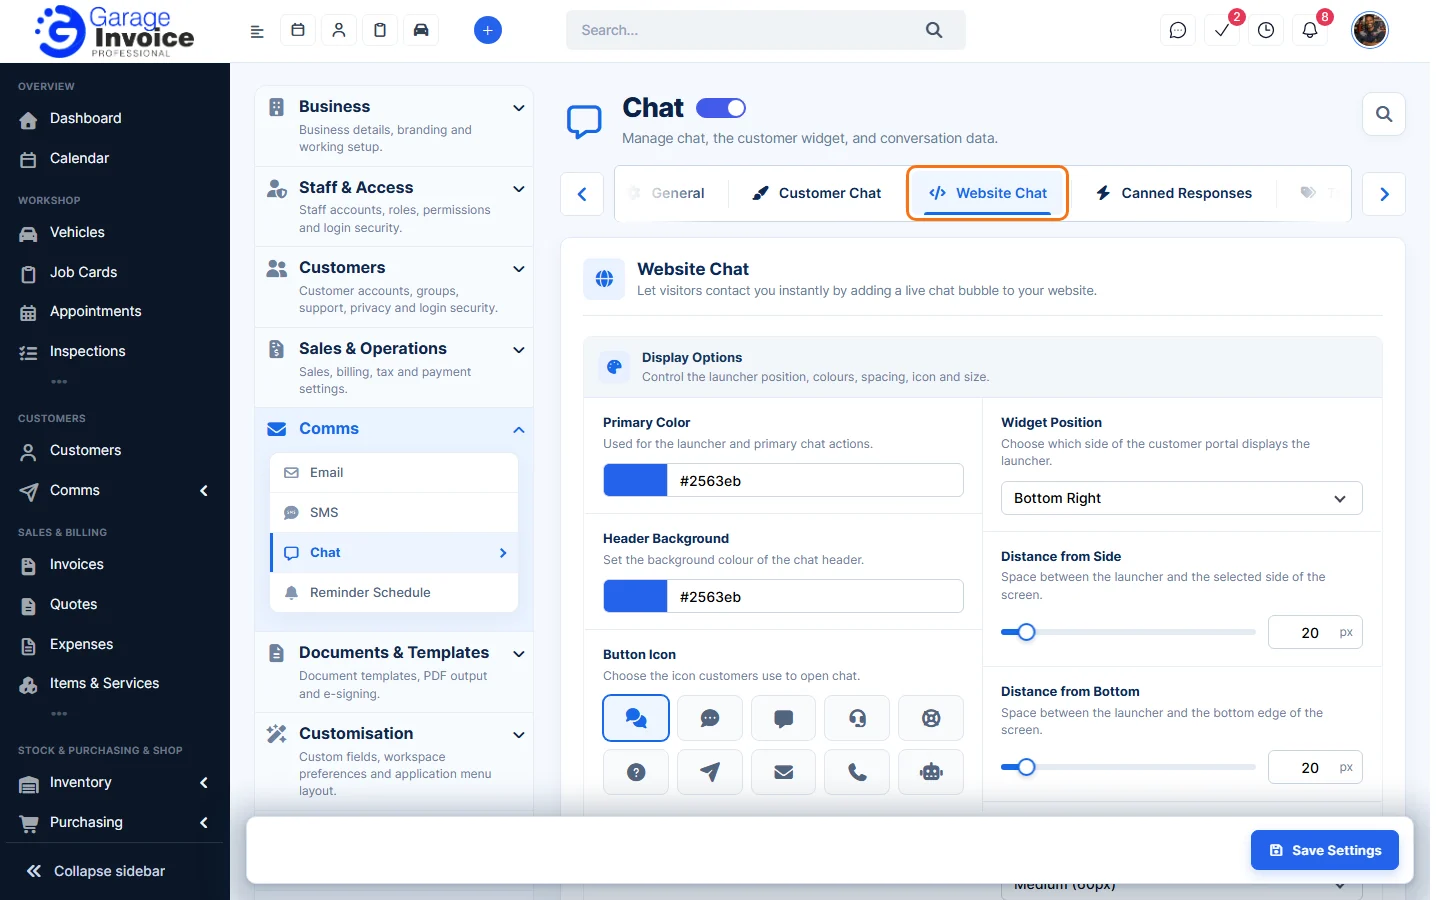
- Colours, button icon, position and size.
- Widget Header Display, Agent Avatar URL and the welcome message.
- Lead Capture, Allow Escalation to Human, Enable CSAT Rating and Allow visitors to upload files.
- Message Limit and Auto-close Timeout.
- Scroll down to Embed Chat. Click Copy Code and paste the code into your website just before the closing
</body>tag.
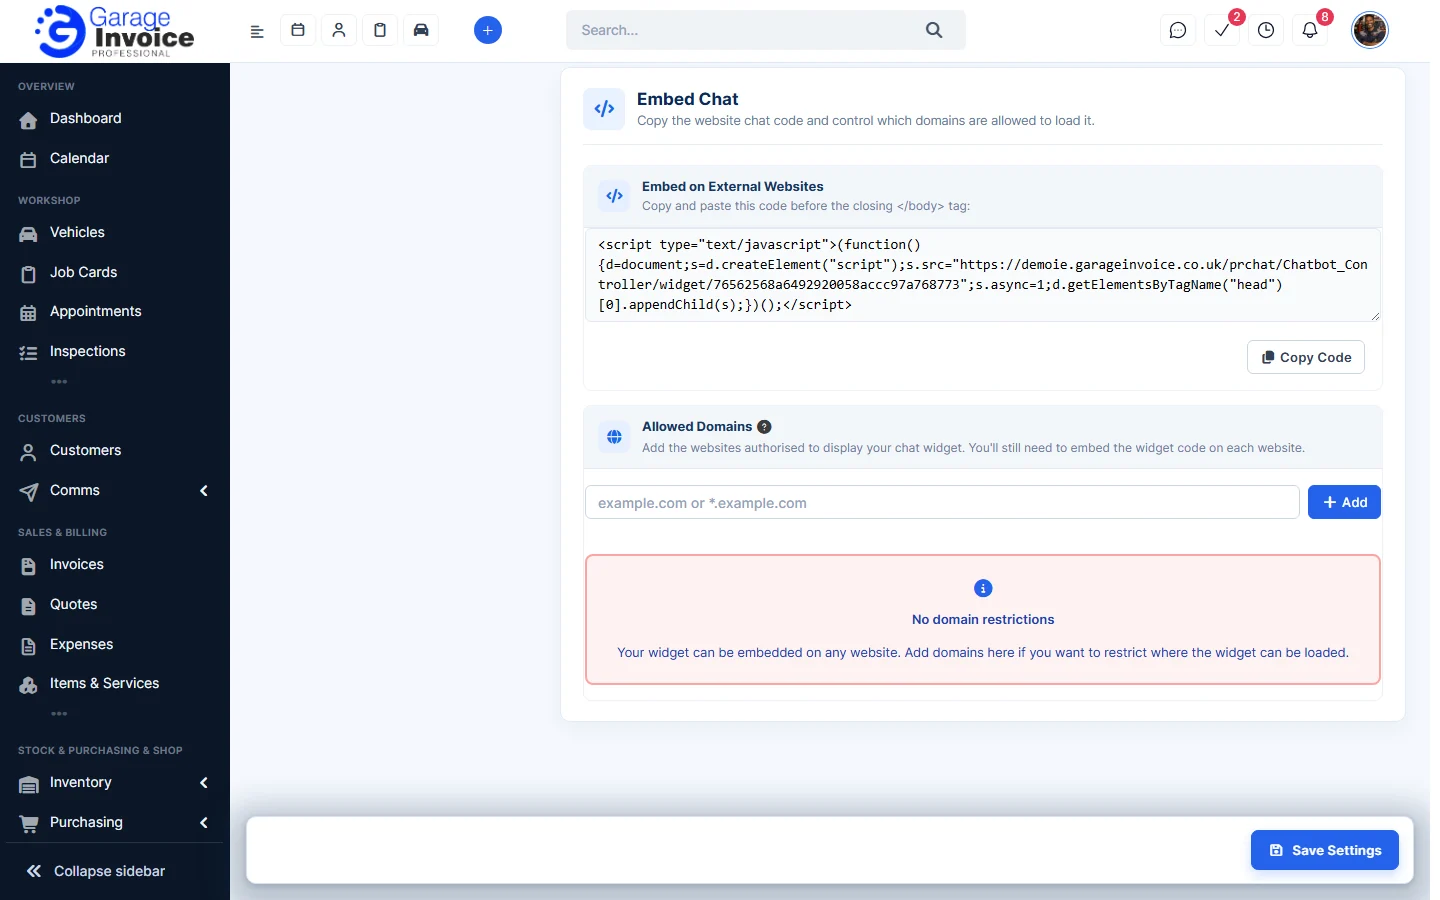
- Under Allowed Domains, type your website address (for example example.com or *.example.com) and click Add. With no domains added, the widget works on any website.
- Click Save Settings.
Answer website visitors
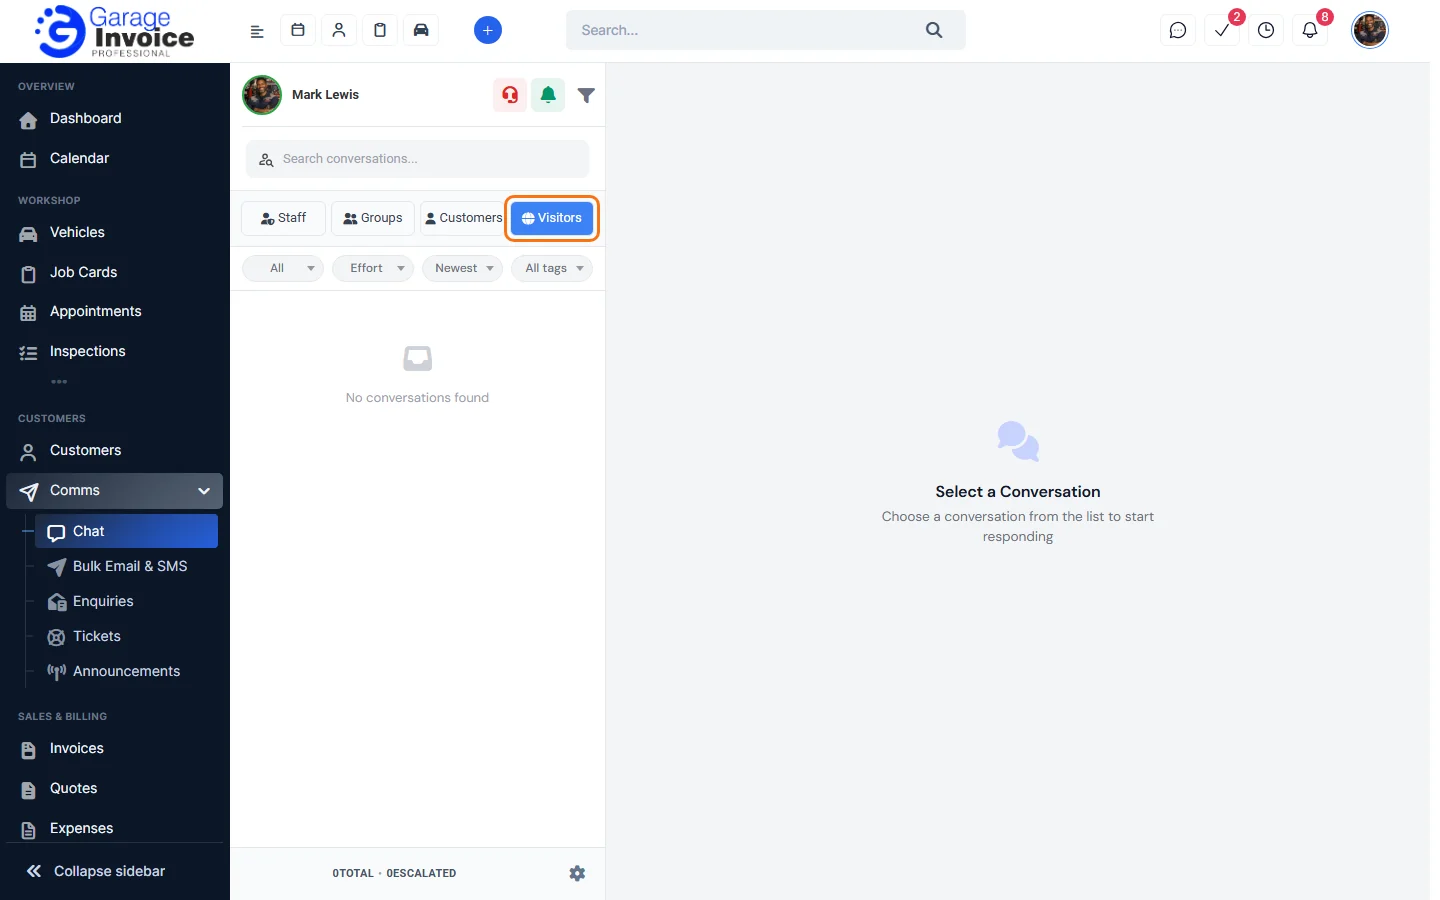
- Click Comms in the sidebar, then Chat, and click the Visitors tab.
- Click a conversation to open it and reply. Use the filters to sort conversations and to show unread, open, escalated or resolved chats, or chats with a tag.
AI assistant
The AI Settings tab sets the Chatbot Name, which AI Assistant answers, the System Prompt and reply length. On Training Data you can add question-and-answer pairs. You need a connected AI assistant to use it.