
- Open the inspection and click Edit, or hover over it in the list and click Edit. A new inspection opens straight away in this screen.
- Work through the inspection form. The type of each check decides how you answer it:
- Green / Amber / Red: click green (OK / pass), amber (monitor / advisory) or red (fail / action required).
- Yes or No: click the Yes or No button (the text can be, for example, OK and FAULT).
- Checkboxes: tick the items that apply.
- Text and Text Area: type your findings.
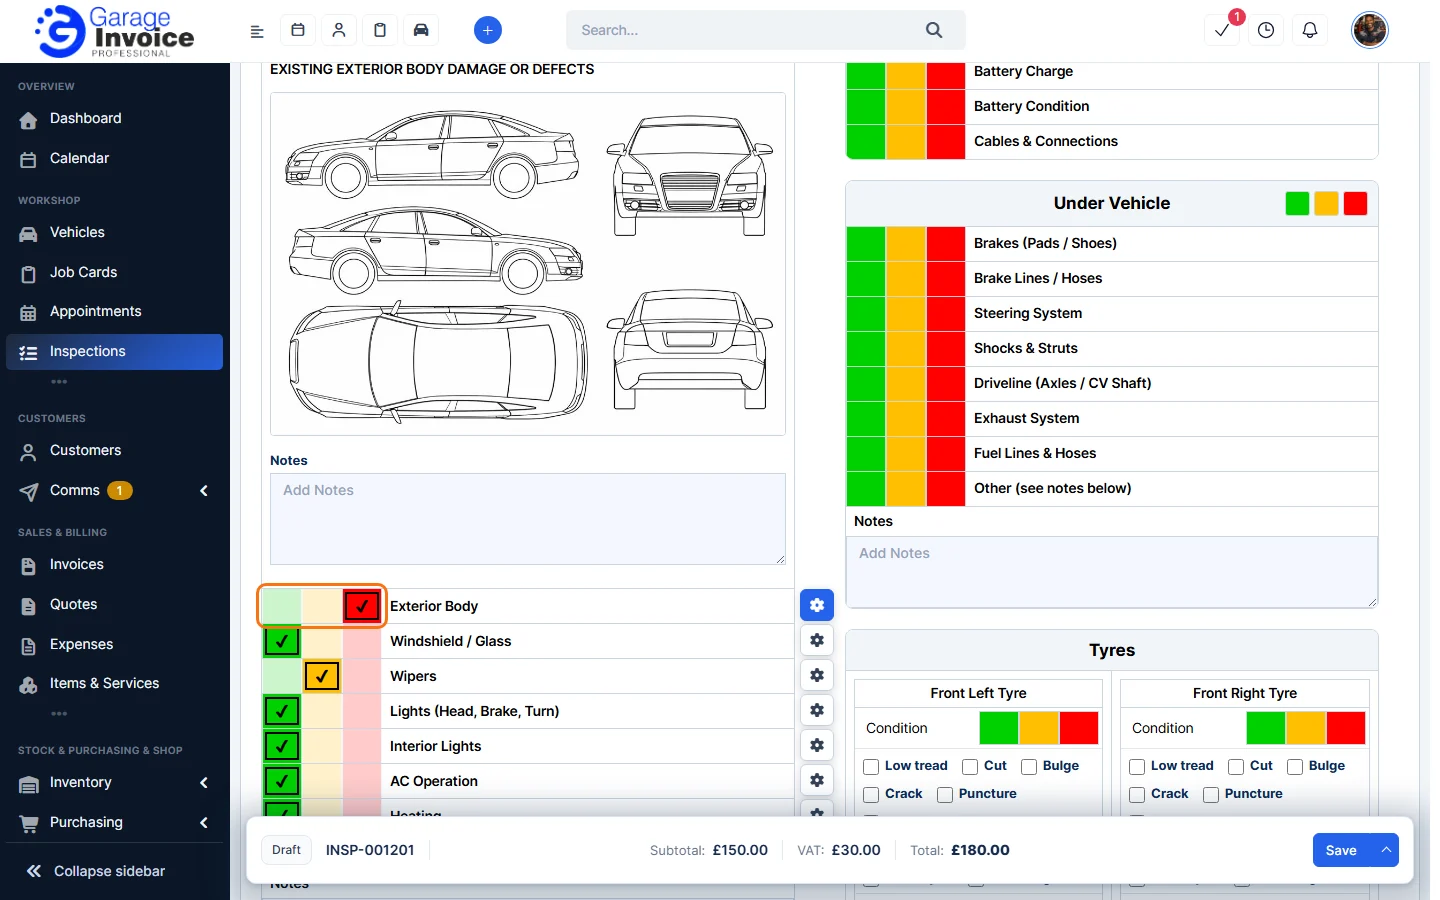
- To mark a whole section at once, click the green, amber or red box in the section header. (Turn these controls on or off with Show apply-to-section controls in Inspection Settings.)
- On an image field (for example EXISTING EXTERIOR BODY DAMAGE OR DEFECTS), click the picture to add a numbered hotspot where the damage is. Click a hotspot to remove it. Type details in Notes.
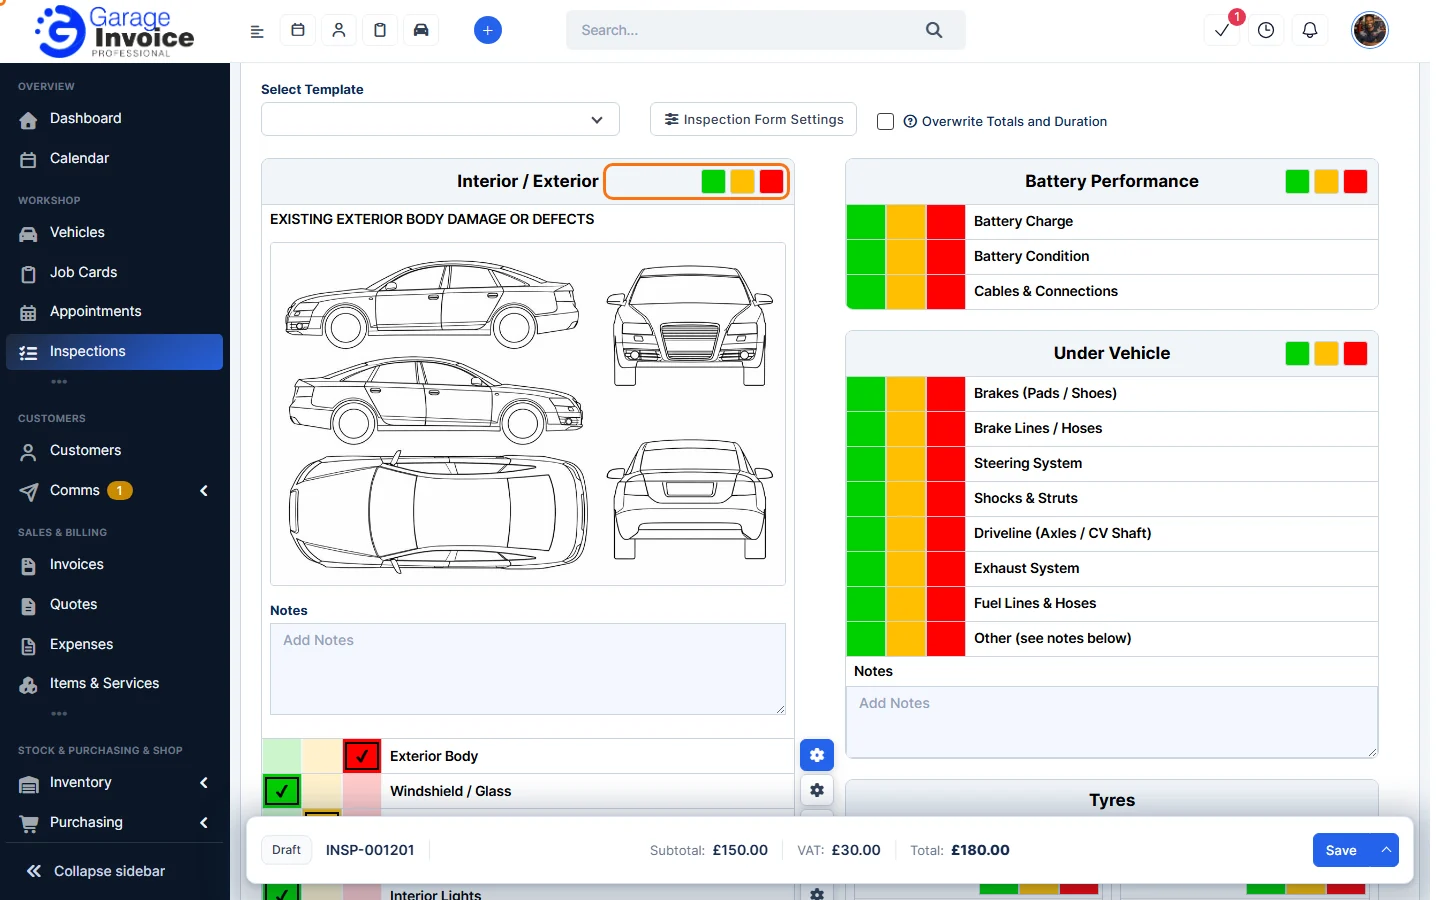
- For tyres, choose the condition colour, tick any defects (for example Low tread or Puncture), enter the tread depth (Inner, Centre, Outer) and pressures, and answer Replacement Required?.
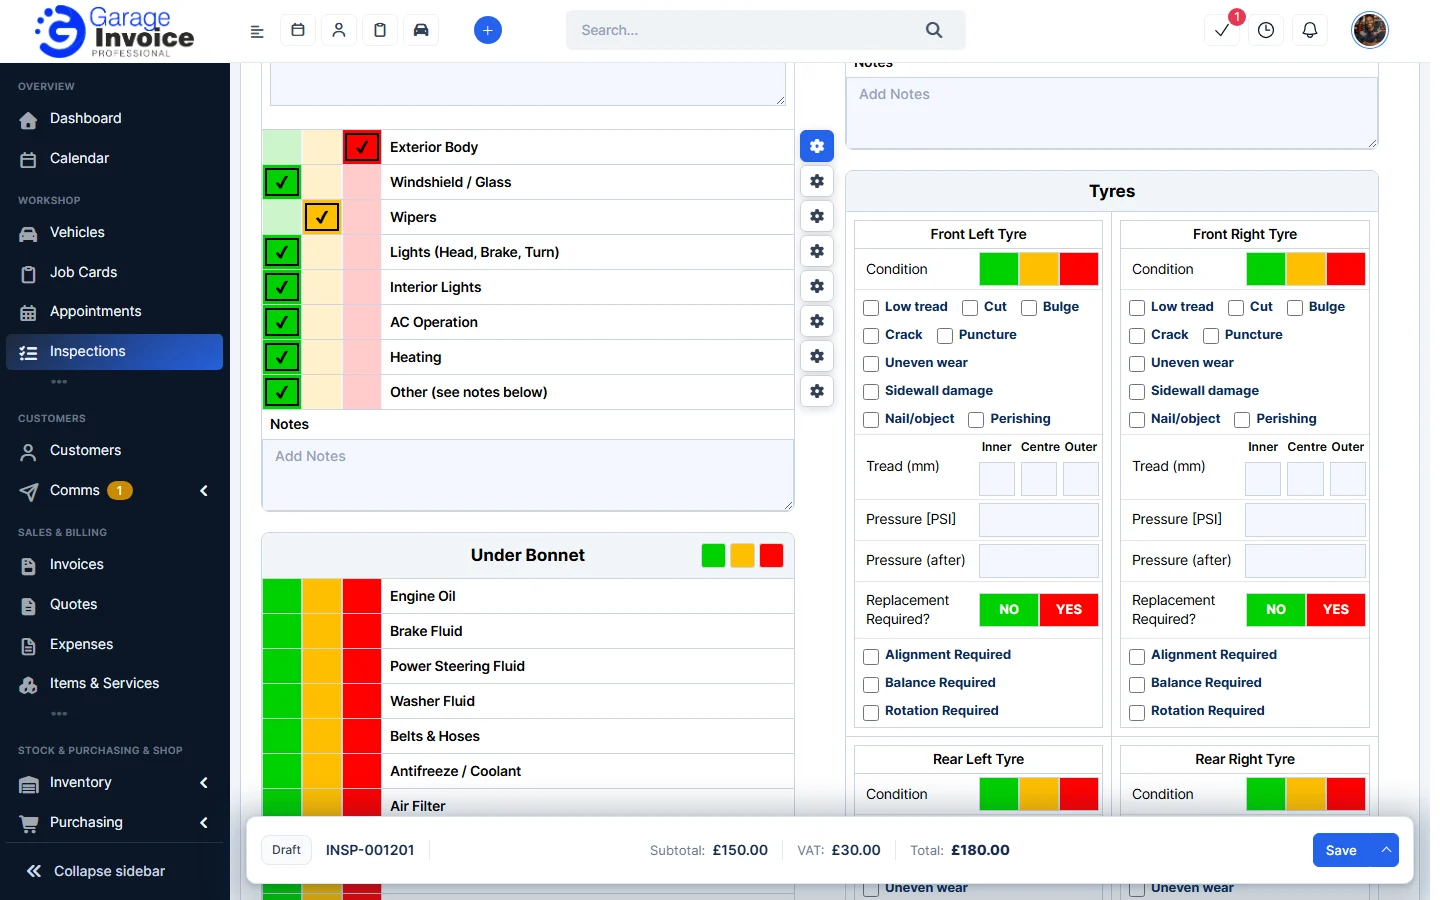
Add a note, photos, time or parts to a check
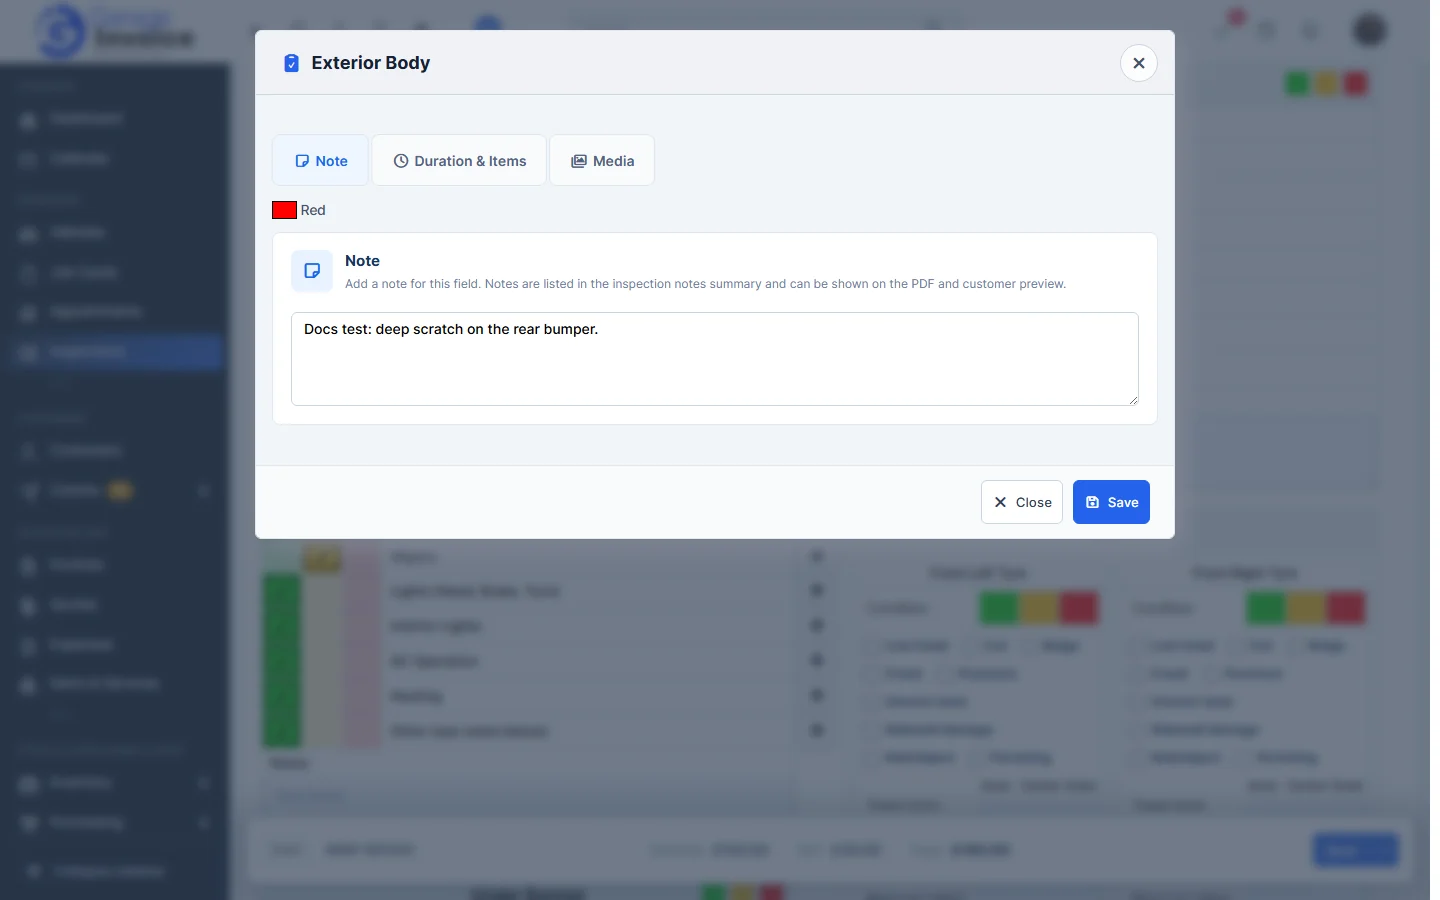
- After you answer a check, hover over it and click the cog (Field settings) on the right.
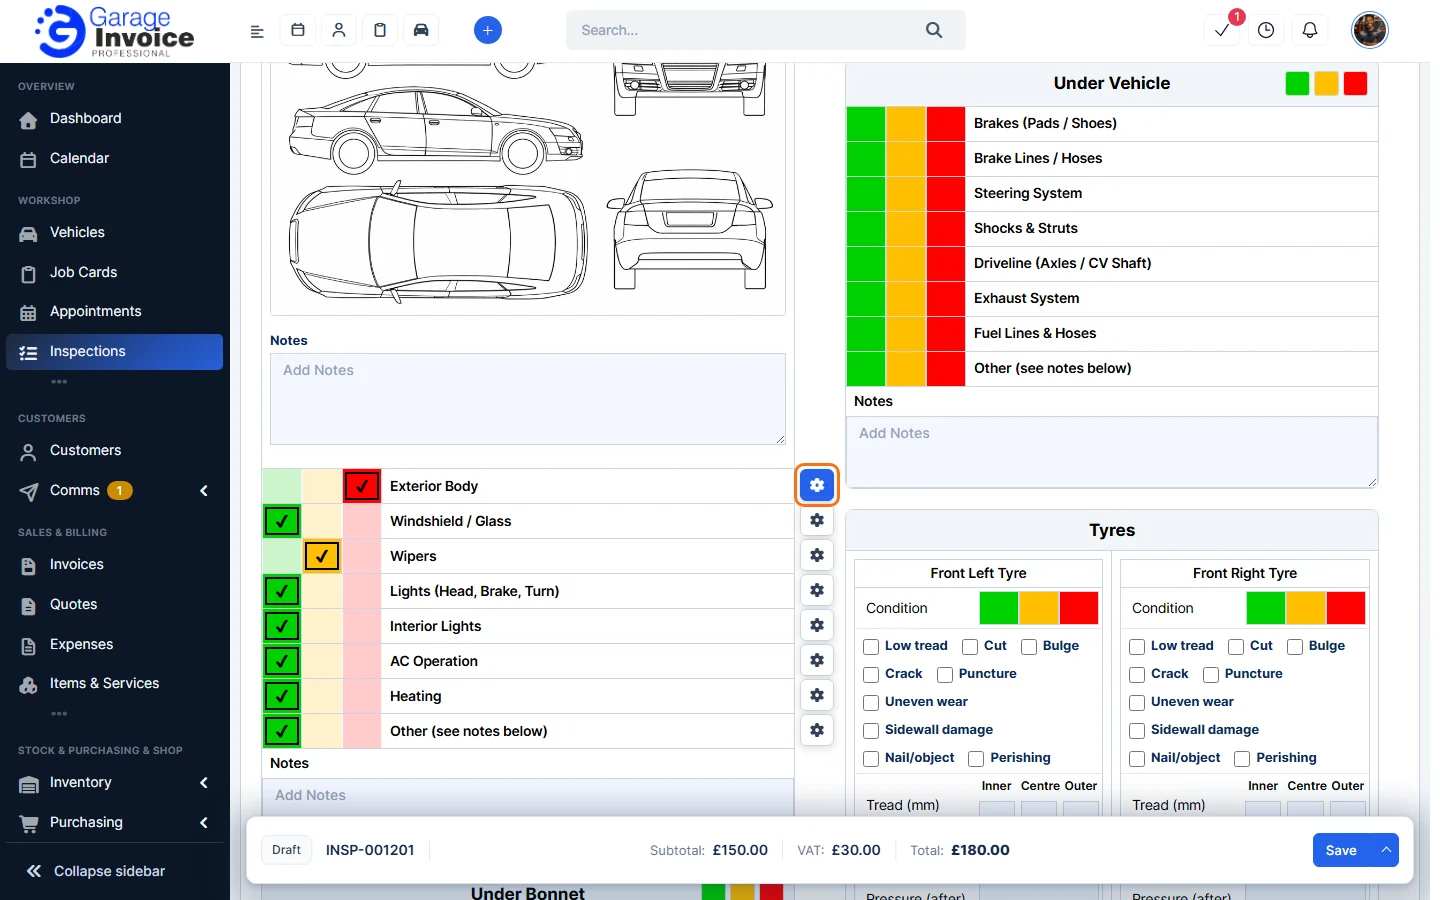
- On the Note tab, type a note. Notes are listed in the inspection notes summary and can be shown on the PDF and to the customer.
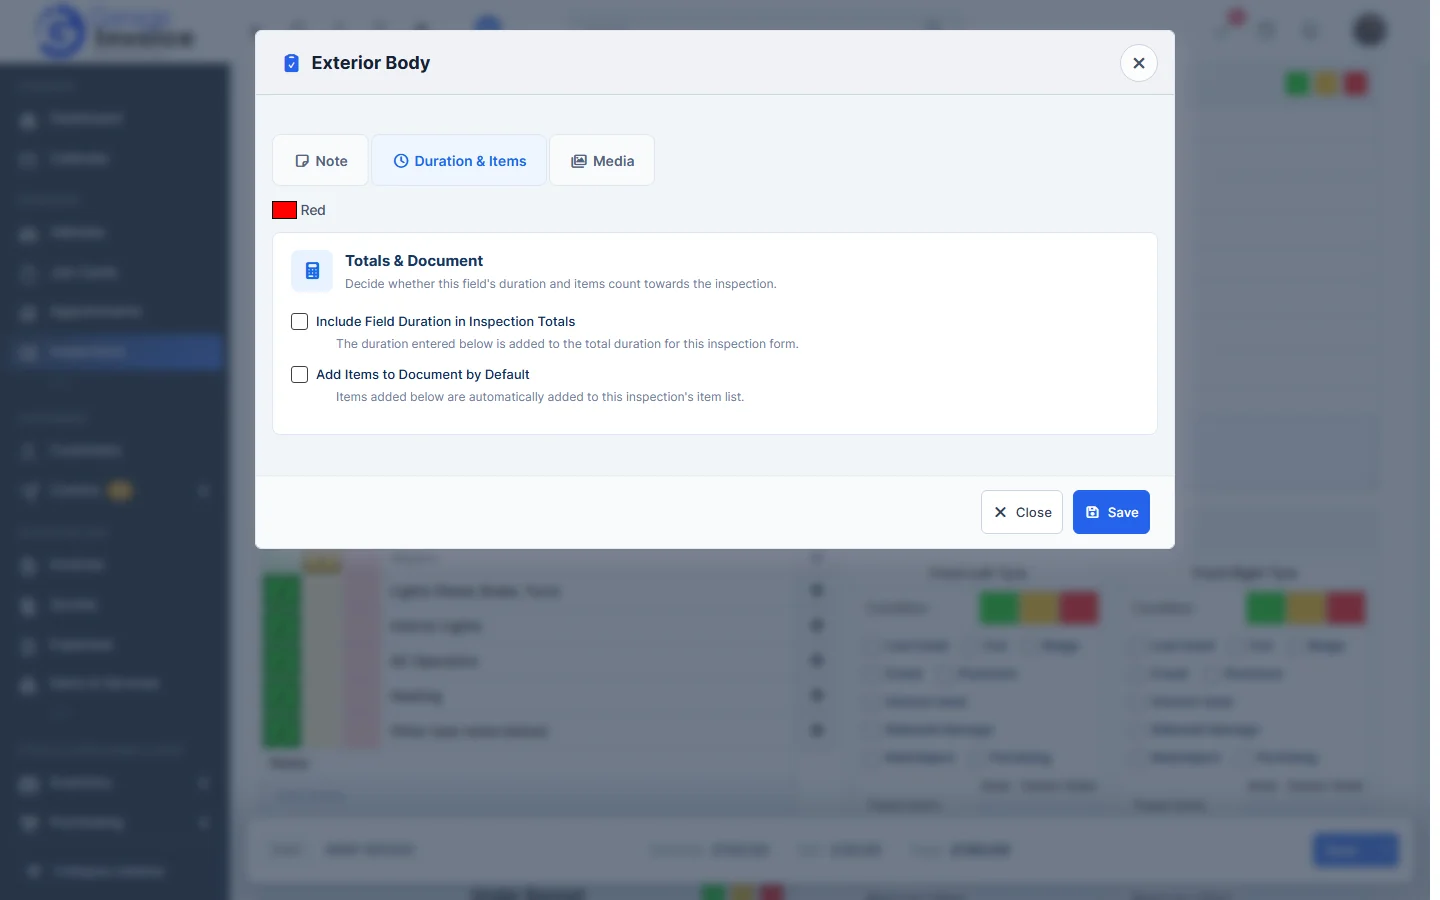
- On the Duration & Items tab:
- Include Field Duration in Inspection Totals: adds the Duration you enter to the inspection’s total duration.
- Add Items to Document by Default: items you add here (Add System Item or Add Manual Item) are added to the inspection’s item list.
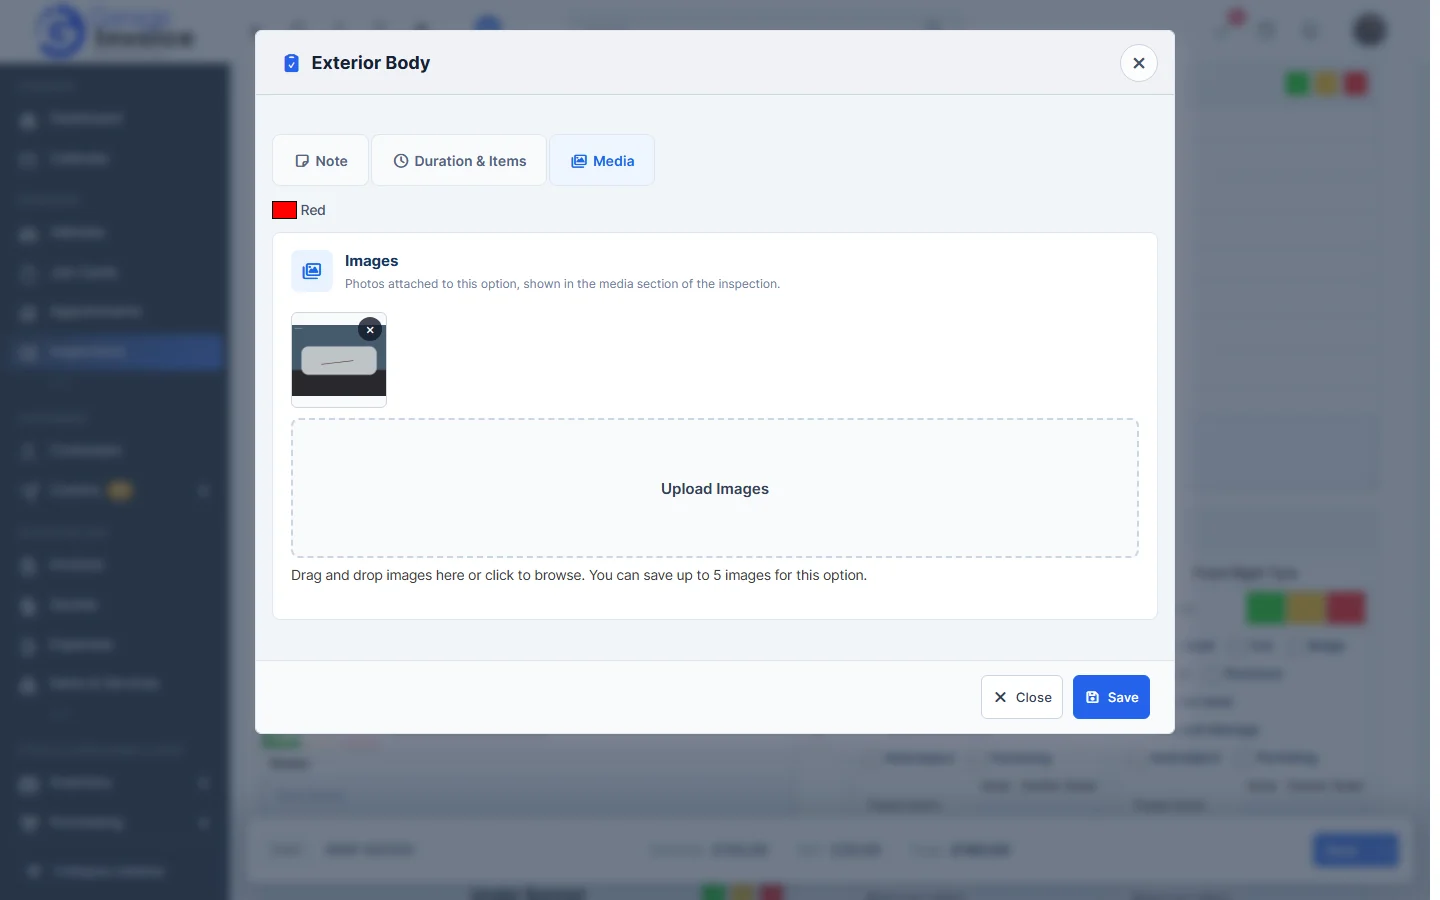
- On the Media tab, click Upload Images or drag photos onto it. You can save up to 5 images for each answer. Photos appear in the Media section of the inspection.
- Click Save in the window.
Note: the Media tab appears once the inspection has been saved.
Items, totals and form settings
- Inspection Items: parts and labour to charge for, with an Inspection Summary of the totals.
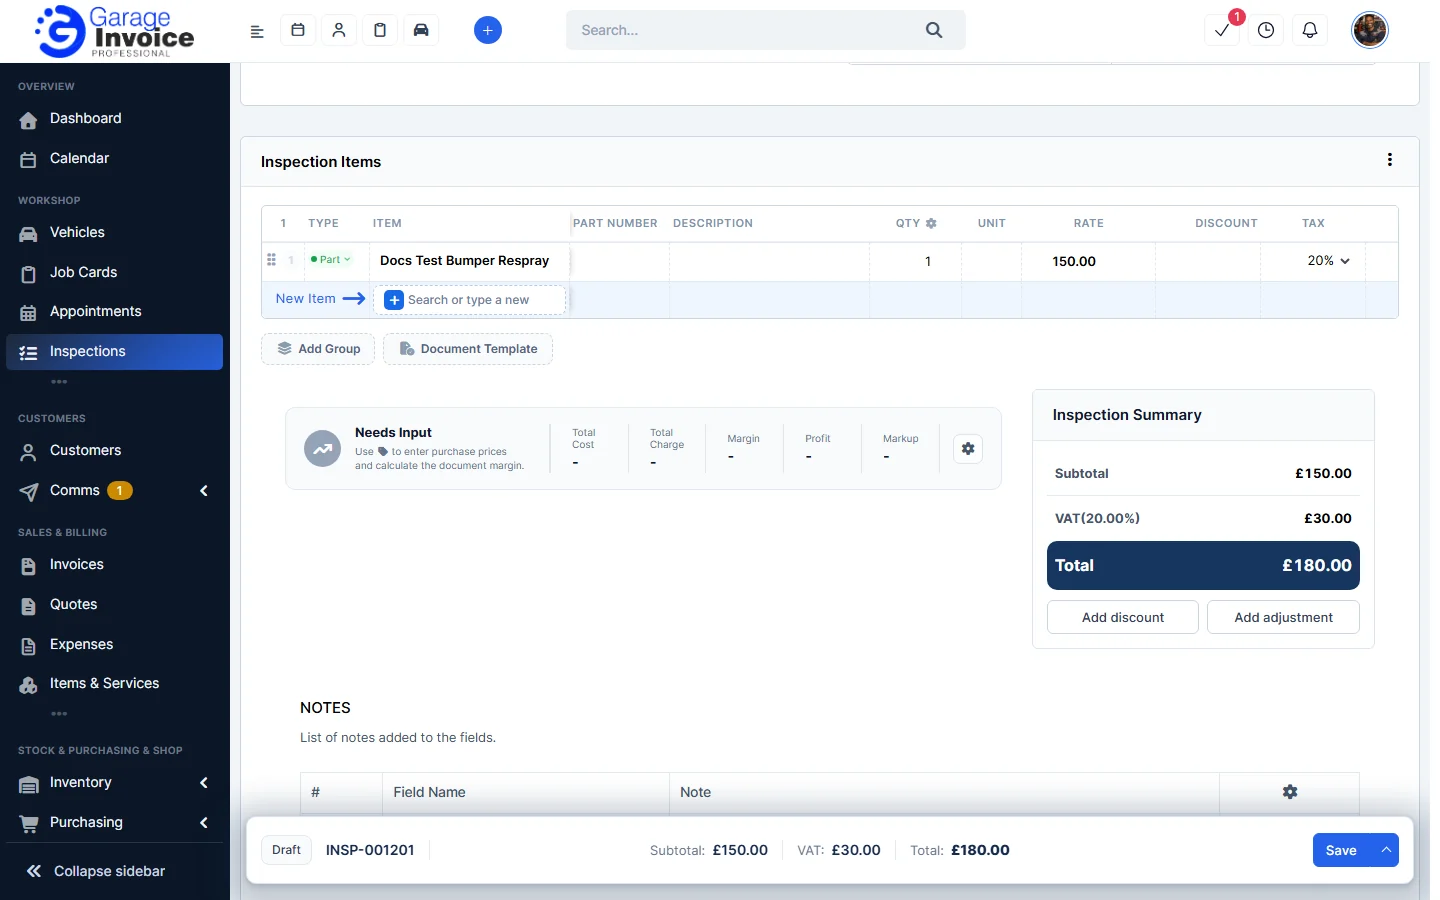
- Overwrite Totals and Duration: tick it to type the Total, Total Incl. Tax, taxes and duration yourself.
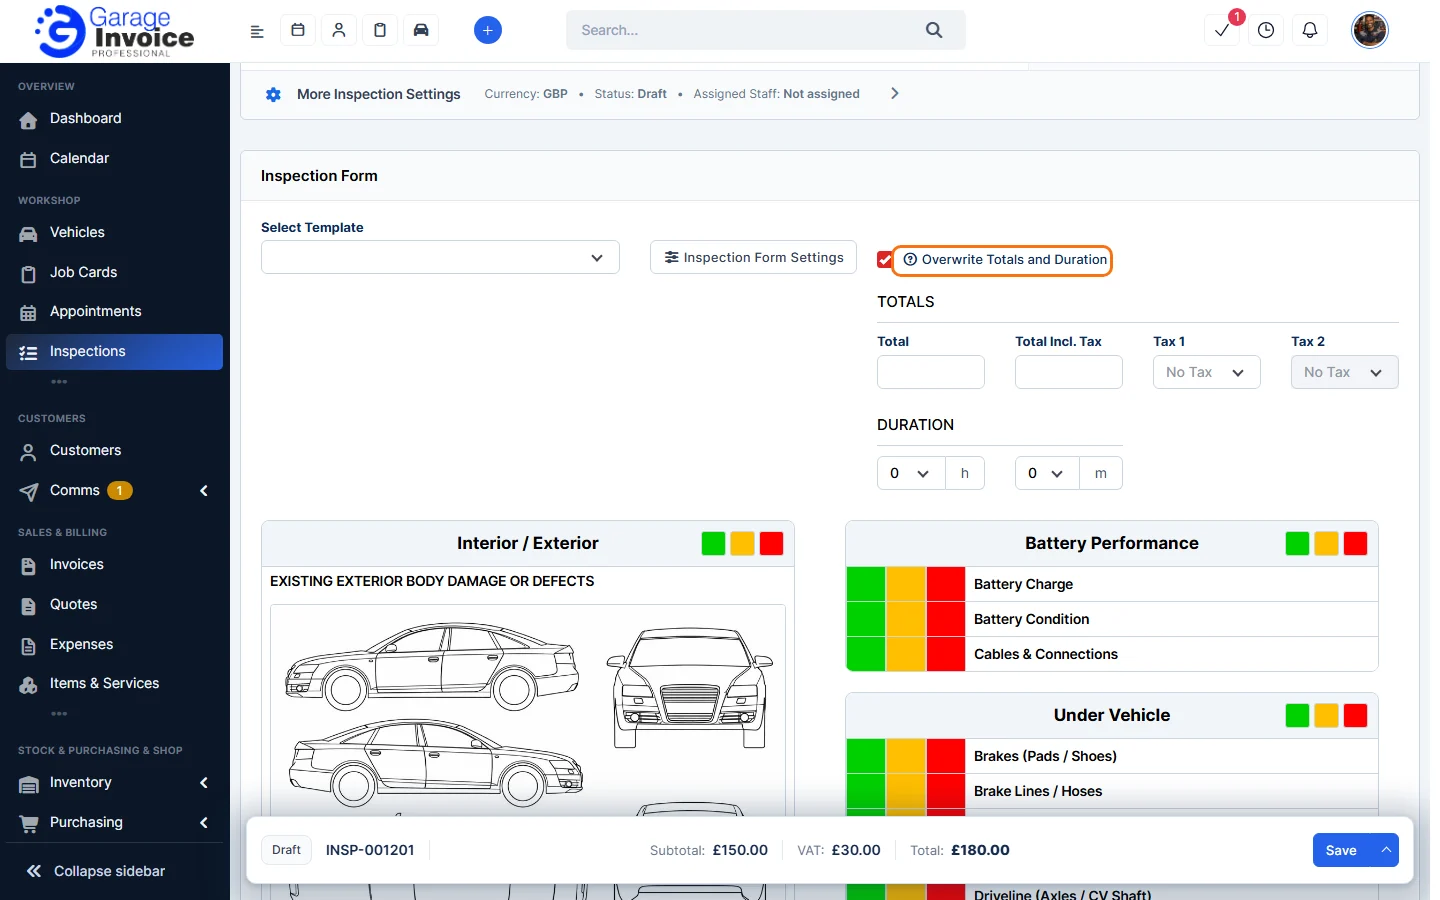
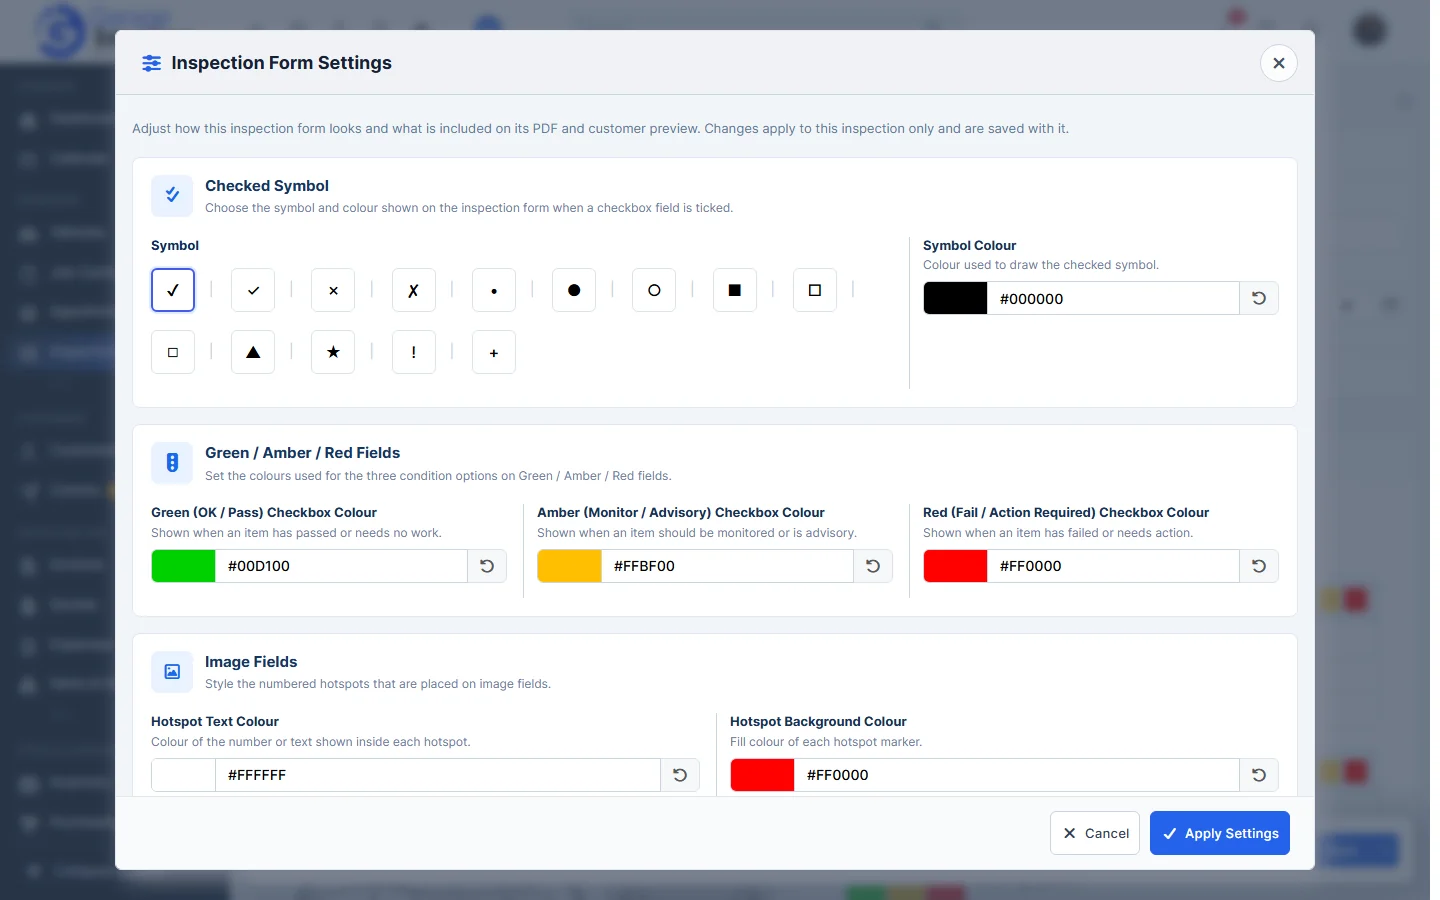
- Inspection Form Settings: change the colours, symbols and what the PDF and customer page show, for this inspection only. The options are the same as on a template’s Settings tab. See Inspection Templates.
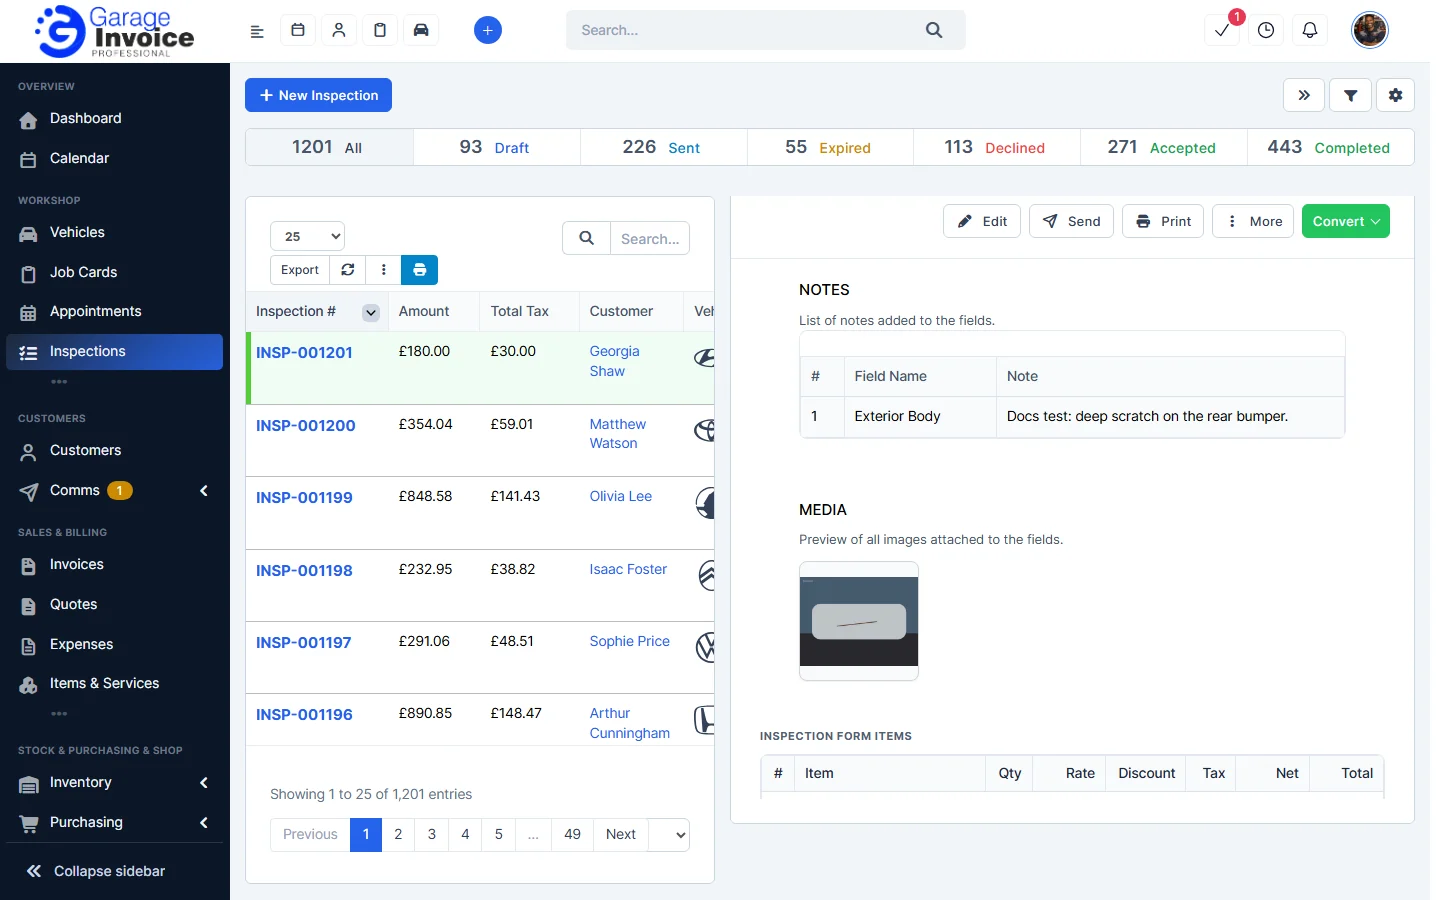
Click Save in the bar at the bottom of the screen. The preview then shows the results, a NOTES list of every field note and the MEDIA photos.
Next: Send Inspection to Customer · Convert Inspection to Quote, Invoice or Job Card
Feature Vehicle inspections: see what it does and how it fits your workshop.