
Import items
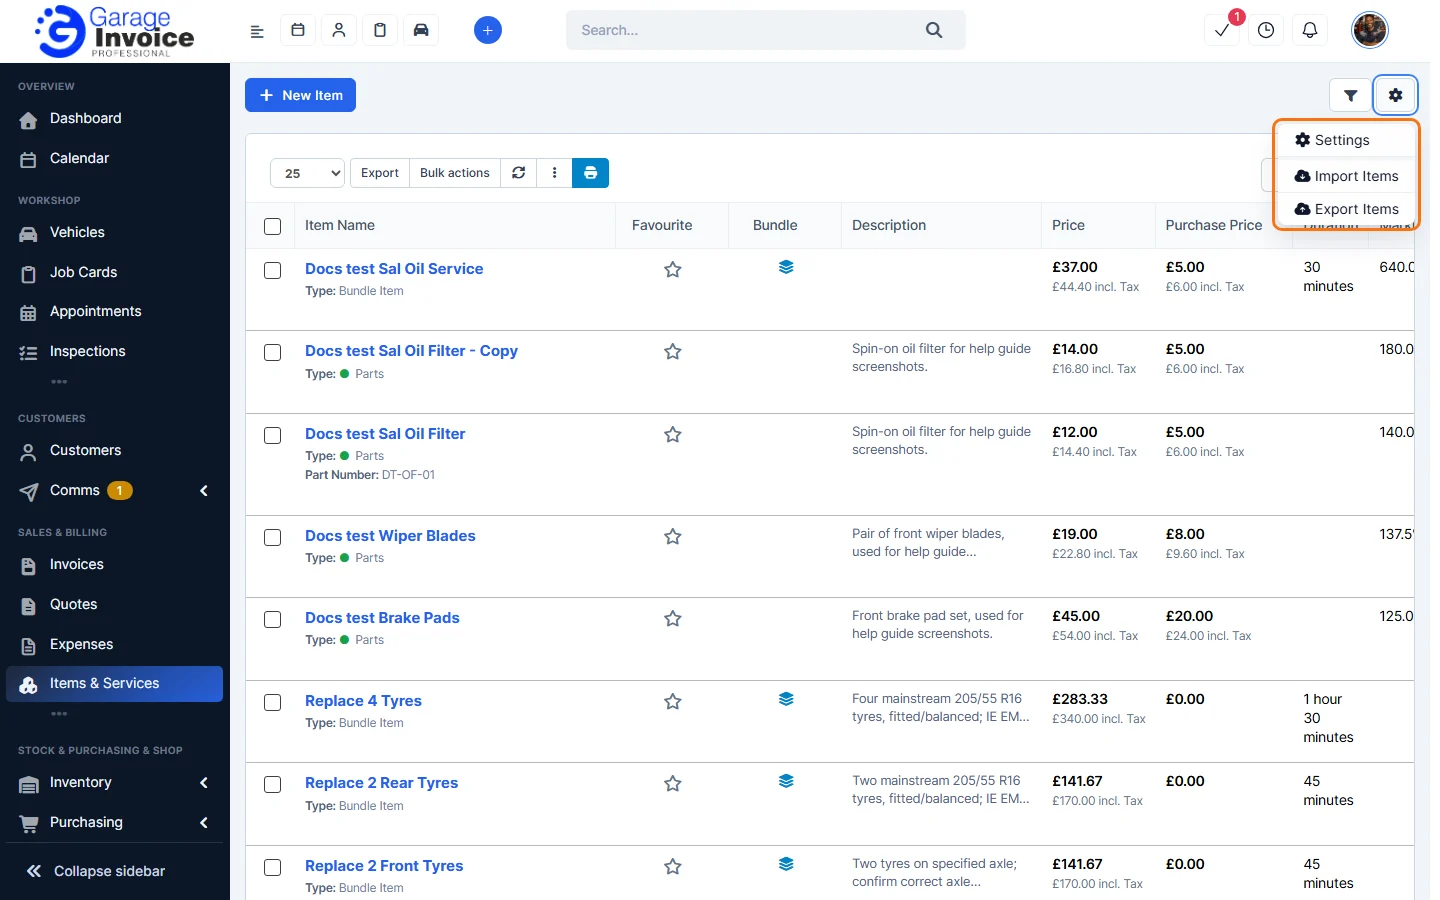
- Click Items & Services in the sidebar, under Sales & Billing. Click the cog button at the top right and choose Import Items.
- Click Download Example CSV to get a file with the right columns, and View Accepted Fields to see which fields you can import.
- Drop your CSV or XLSX file on the box, or click Choose File, then click Upload & Continue.
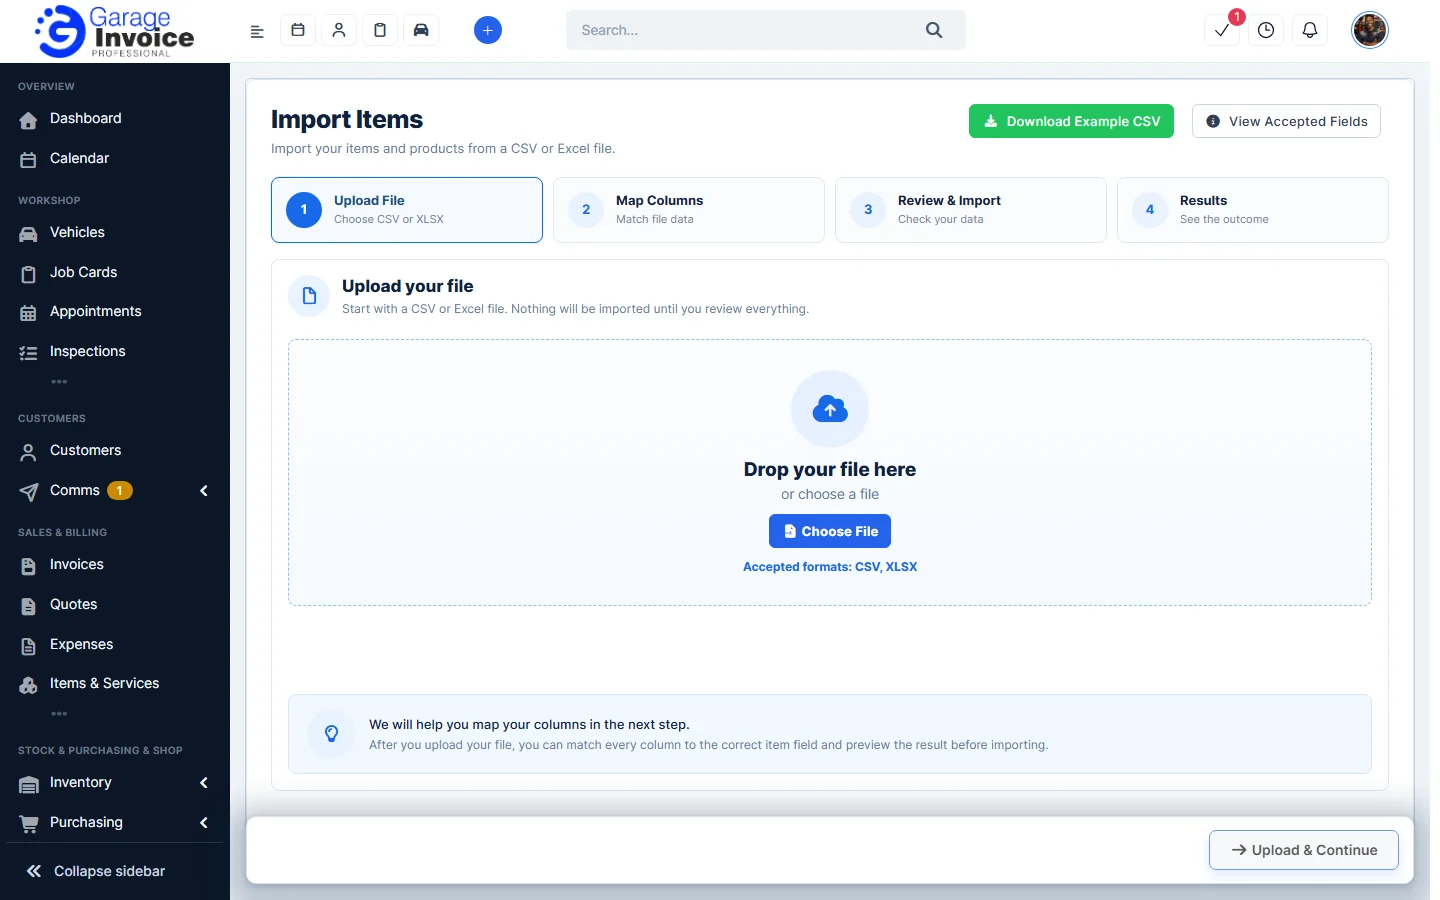
- Follow the steps at the top: Map Columns (match each column in your file to an item field), Review & Import and Results. Nothing is imported until you have reviewed everything.
Export items
- Click the cog button and choose Export Items.
- Under Choose Records, filter by Item Type, Warehouse and Group. Tick Include Item ID to add the internal item ID, useful for matching rows with items later. Click Continue.
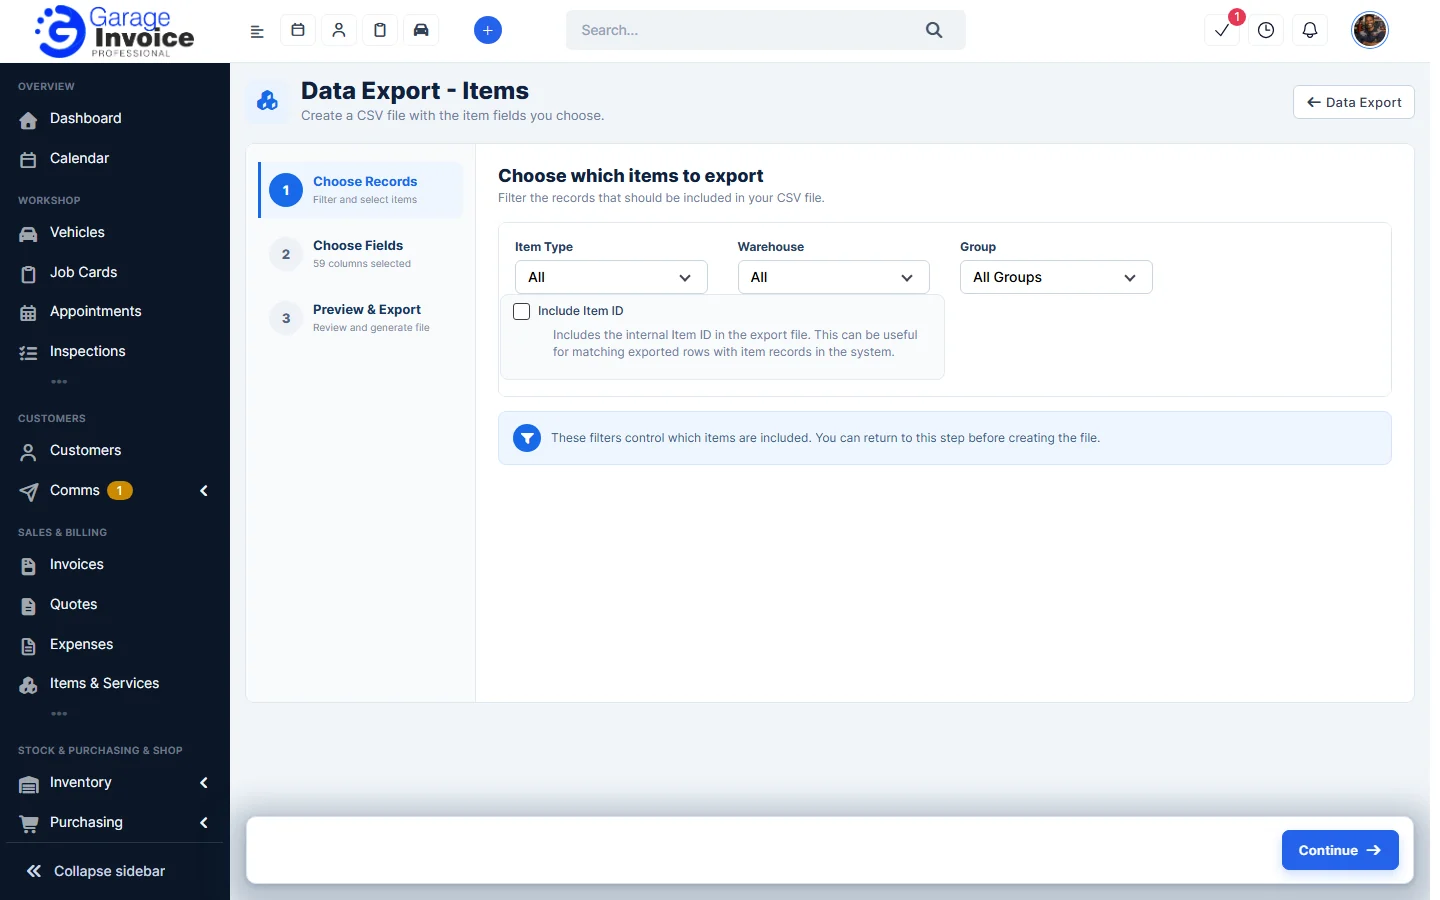
- Under Choose Fields, pick the columns you want, then check the file under Preview & Export and create it.
Tip: for a quick export of the list as you see it, use Export above the list. For other imports, see Data Import.
Feature Stock and inventory control: see what it does and how it fits your workshop.