
- Click Customers in the sidebar, then click the customer’s name. You can also hover over the row and click View, or Contacts to go straight to their contacts.
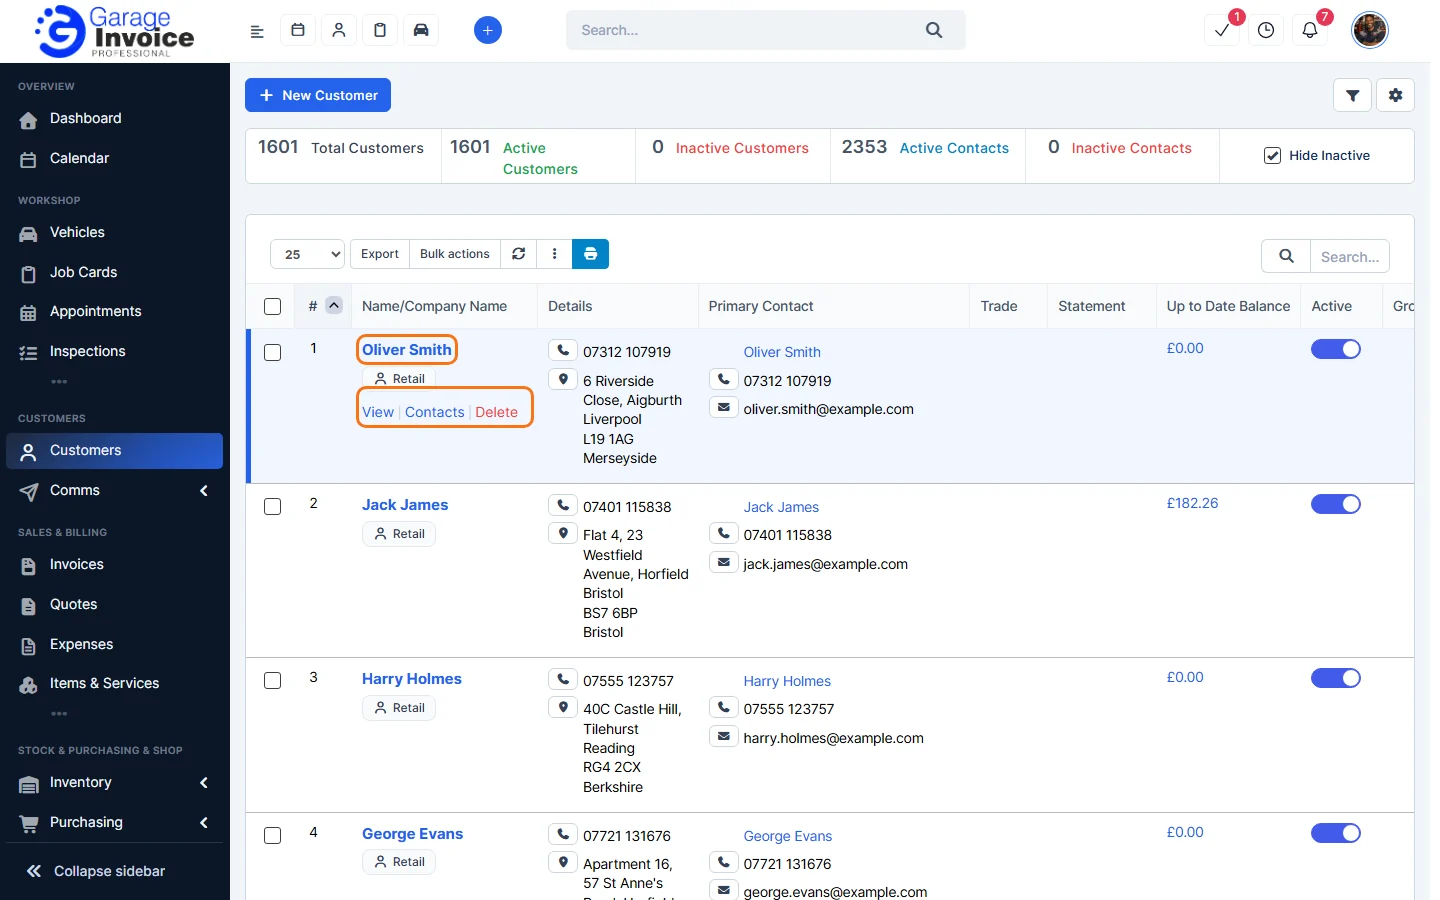
Tip: can’t see the customer? See Search for Customer.
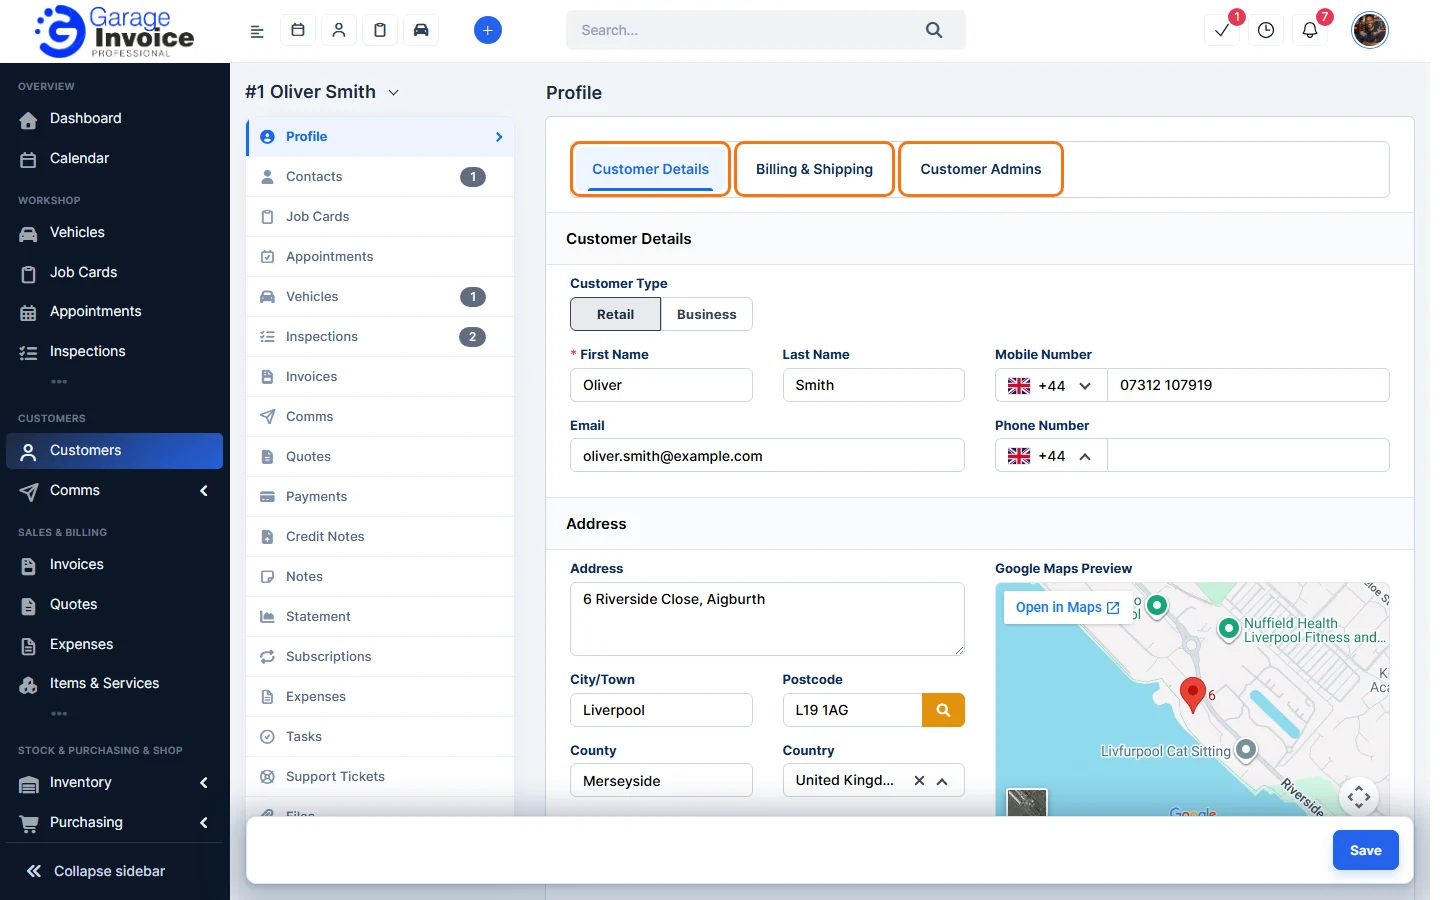
- The customer’s Profile opens. It has three tabs:
- Customer Details: customer type, name, phone numbers, email, address (with a Google Maps preview), website, currency, notes and groups.
- Billing & Shipping: the billing and shipping addresses used on invoices.
- Customer Admins: the staff members looking after this customer.
To change anything, edit the field and click Save in the bottom right corner.
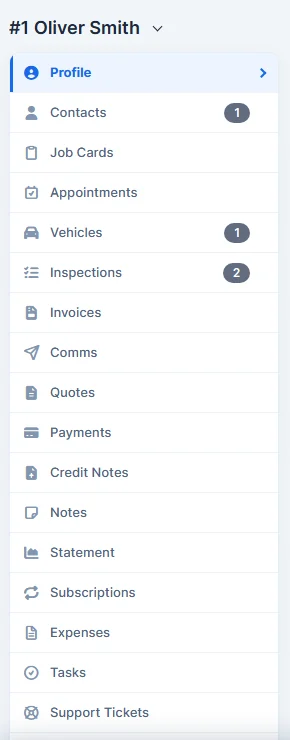
- Use the menu on the left to see everything linked to this customer: Contacts, Job Cards, Appointments, Vehicles, Inspections, Invoices, Comms, Quotes, Payments, Credit Notes, Notes, Statement, Subscriptions, Expenses, Tasks, Support Tickets, Files and Reminders. The numbers next to some sections show how many records there are.
Assign a staff member to the customer
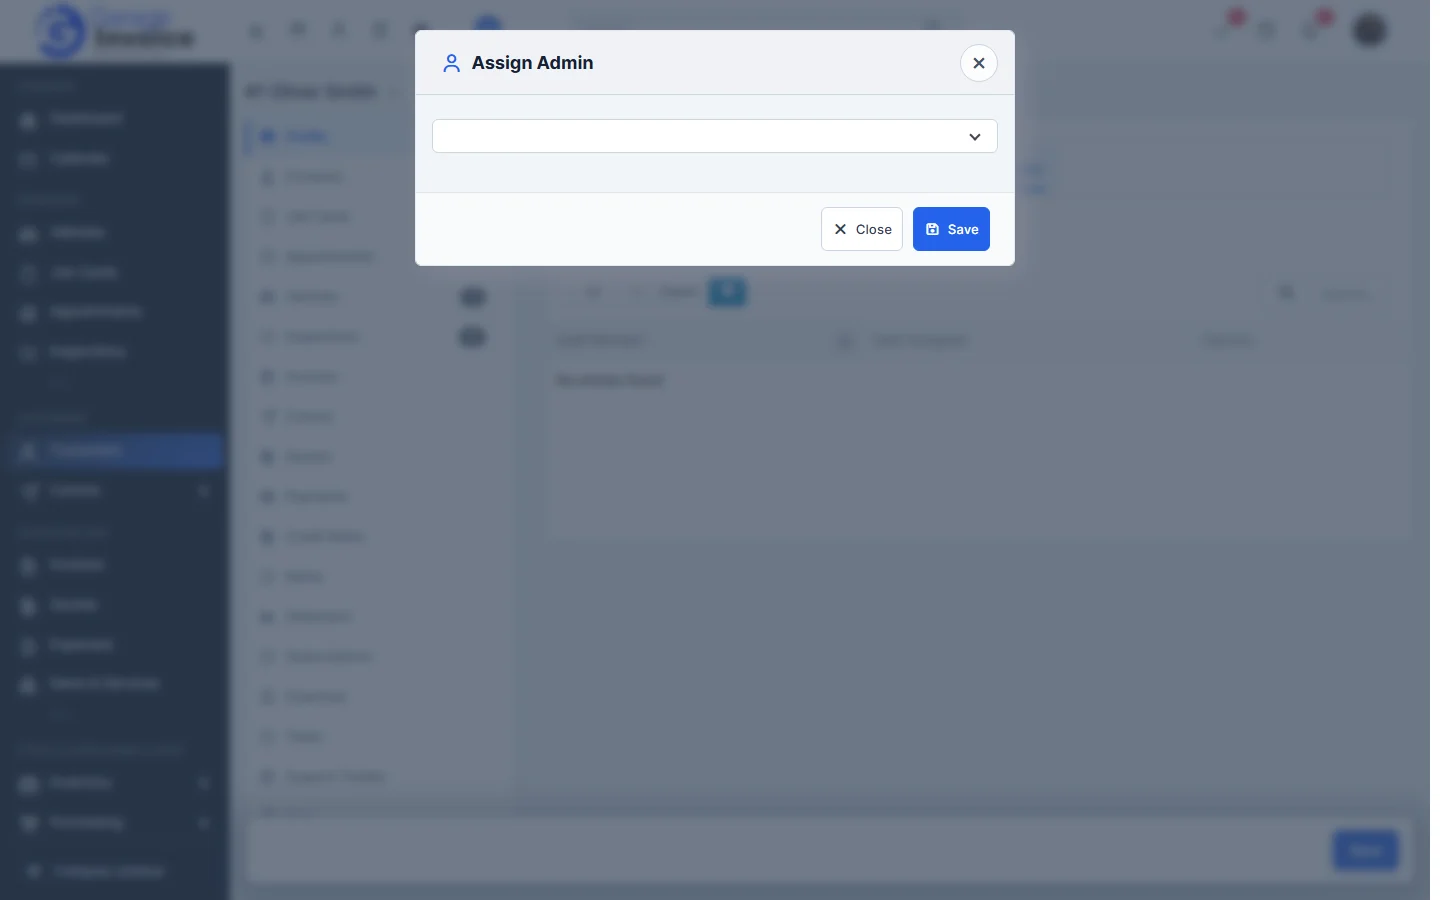
- On the customer’s Profile, open the Customer Admins tab and click Assign Admin.
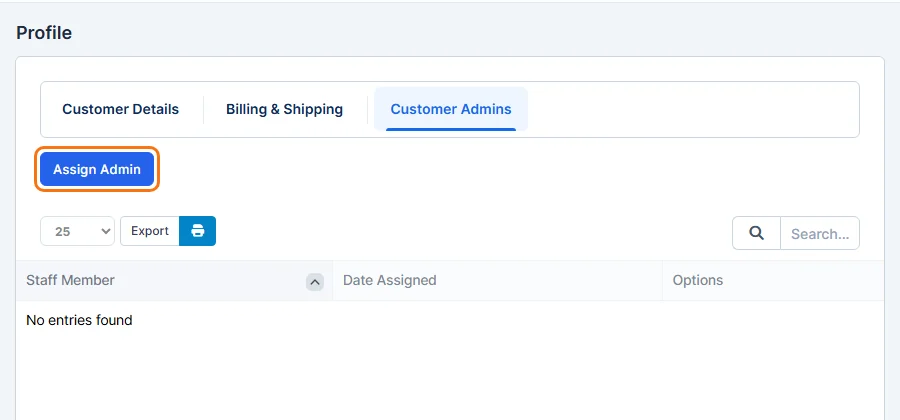
- Choose the staff member and click Save.
Note: to see only your own customers, use the Customers assigned to me filter on the Customers list. See Search for Customer.
Feature Customer management: see what it does and how it fits your workshop.