
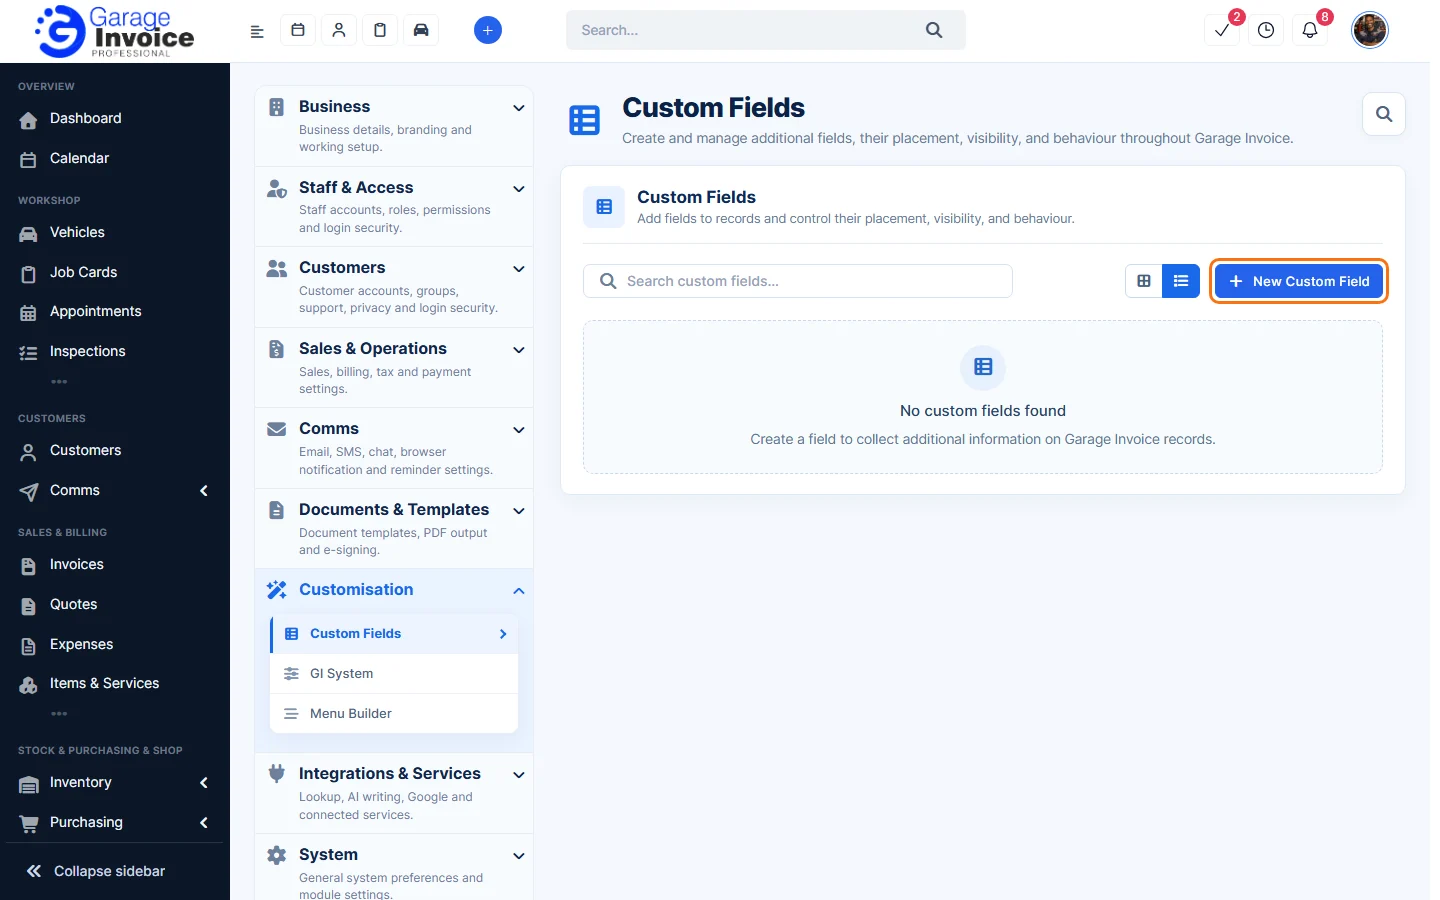
- Click Settings at the bottom of the sidebar, under Administration. In the panel on the left, open Customisation and click Custom Fields. Click New Custom Field.
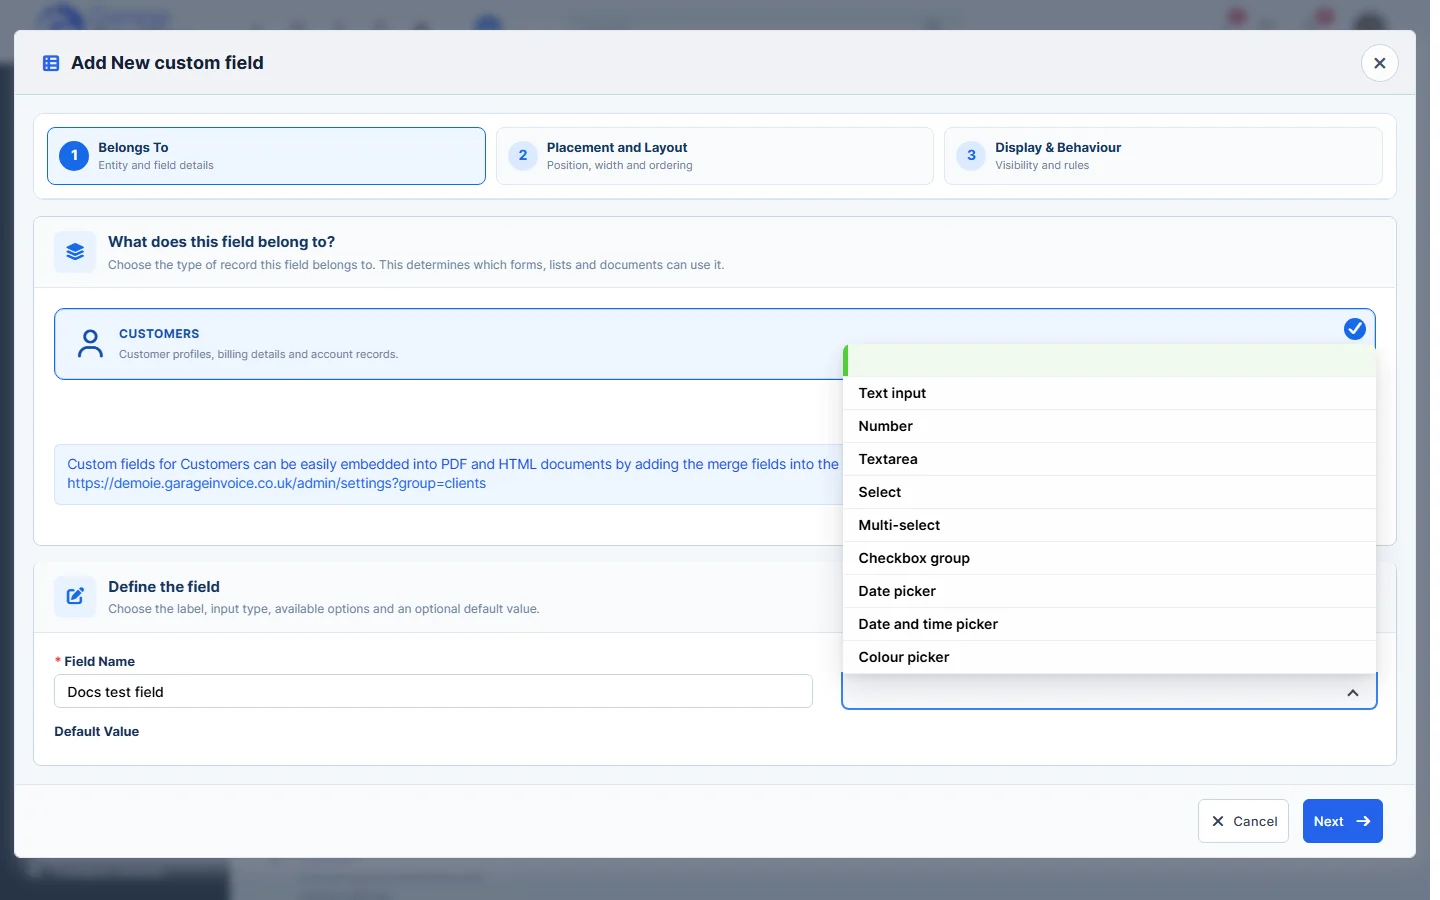
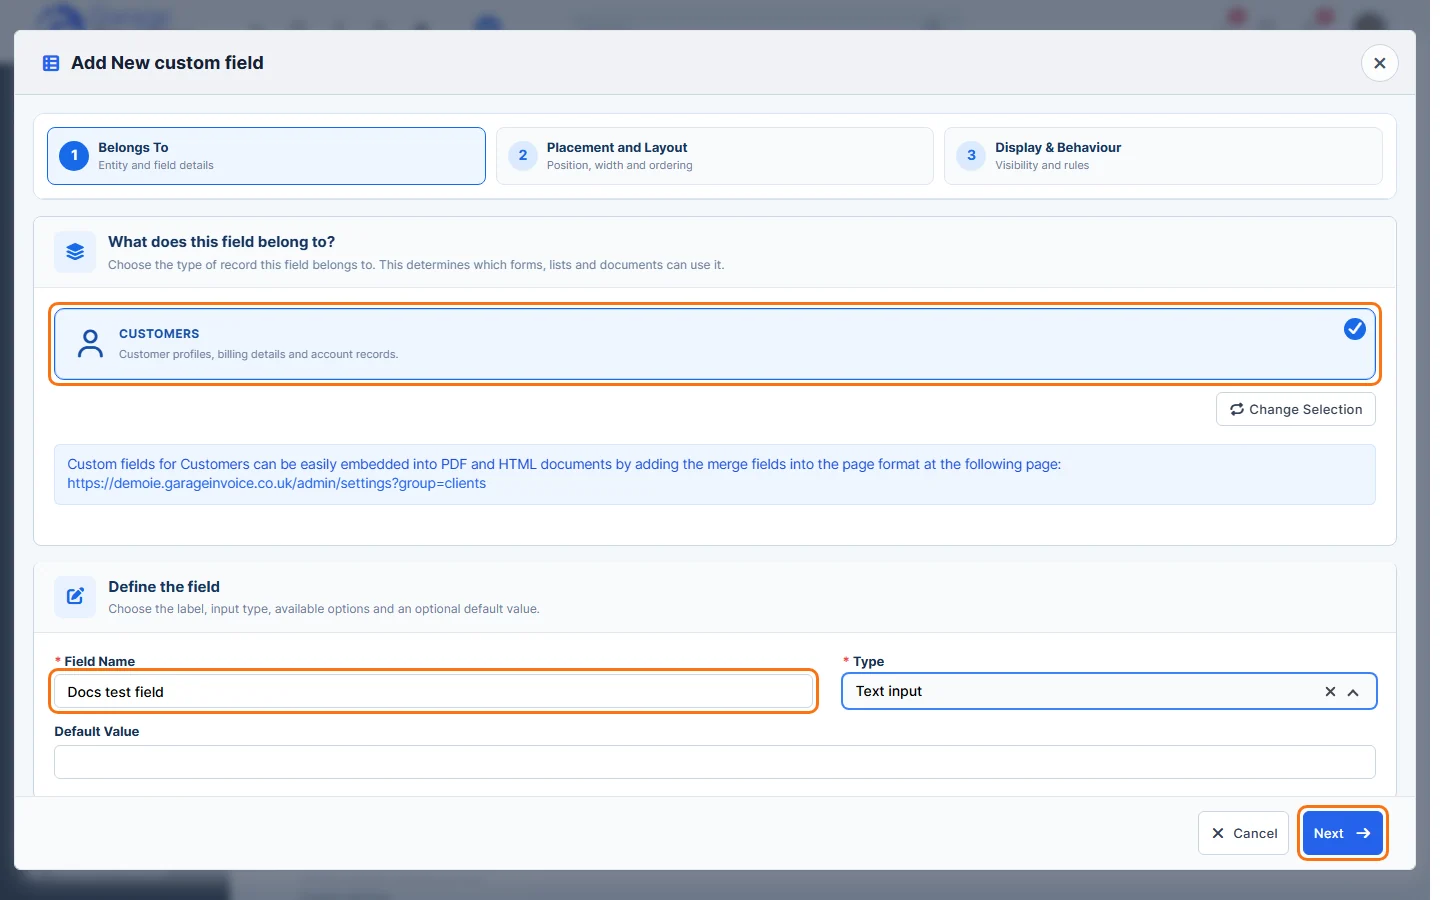
- Under What does this field belong to?, click the type of record, for example Customers, Vehicles, Invoices, Job Cards or Staff.
- Under Define the field, enter the Field Name and choose the Type: Text input, Number, Textarea, Select, Multi-select, Checkbox group, Date picker, Date and time picker or Colour picker. Add a Default Value if you like.
Click Next.
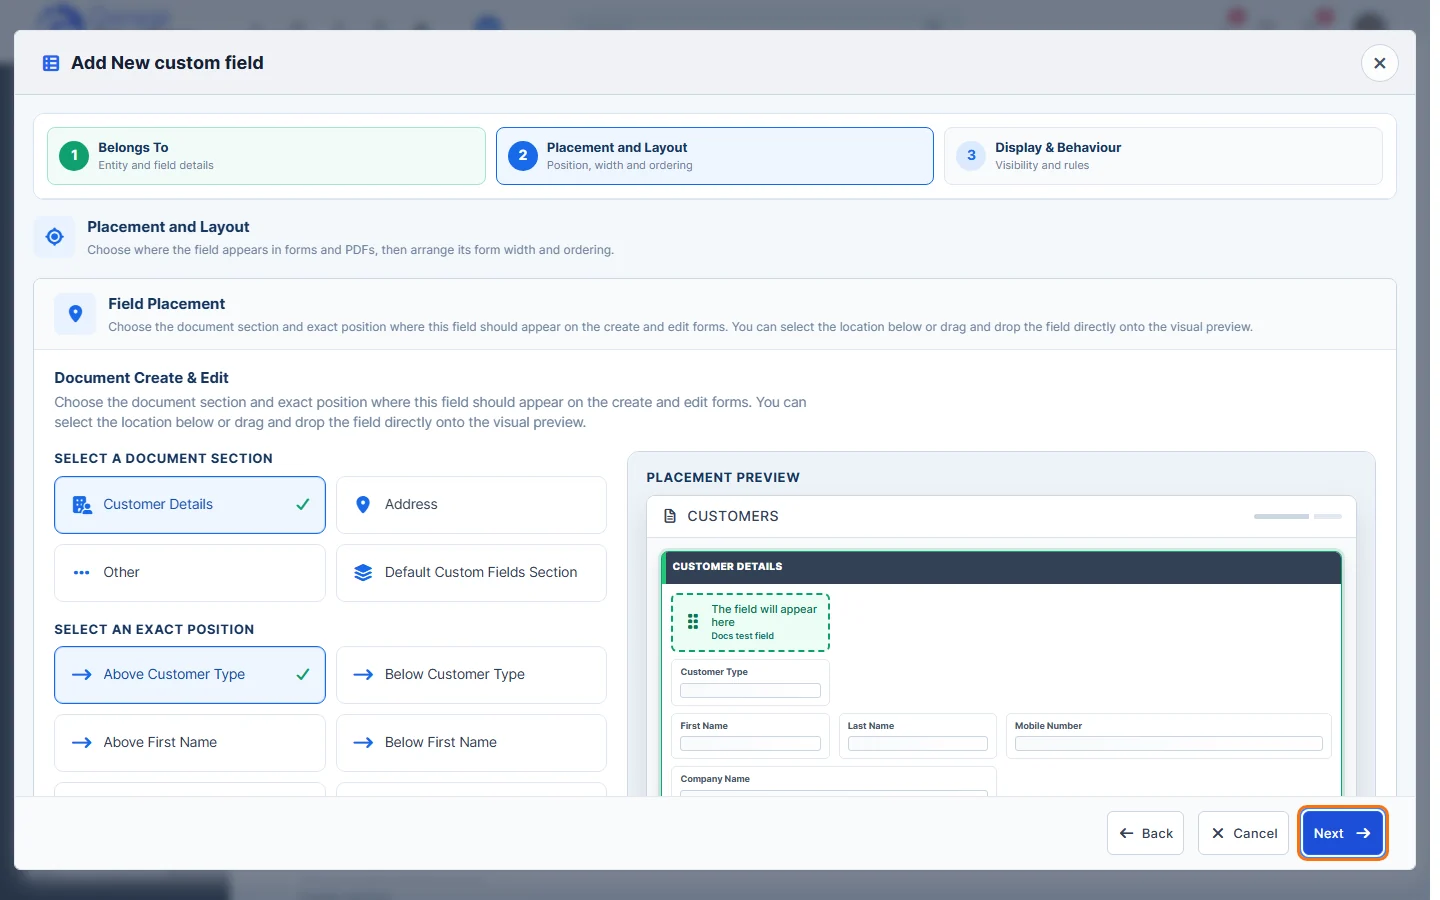
- Under Placement and Layout, choose the section of the form and the exact position (for example Below Last Name). The Placement Preview shows where the field will appear. Click Next.
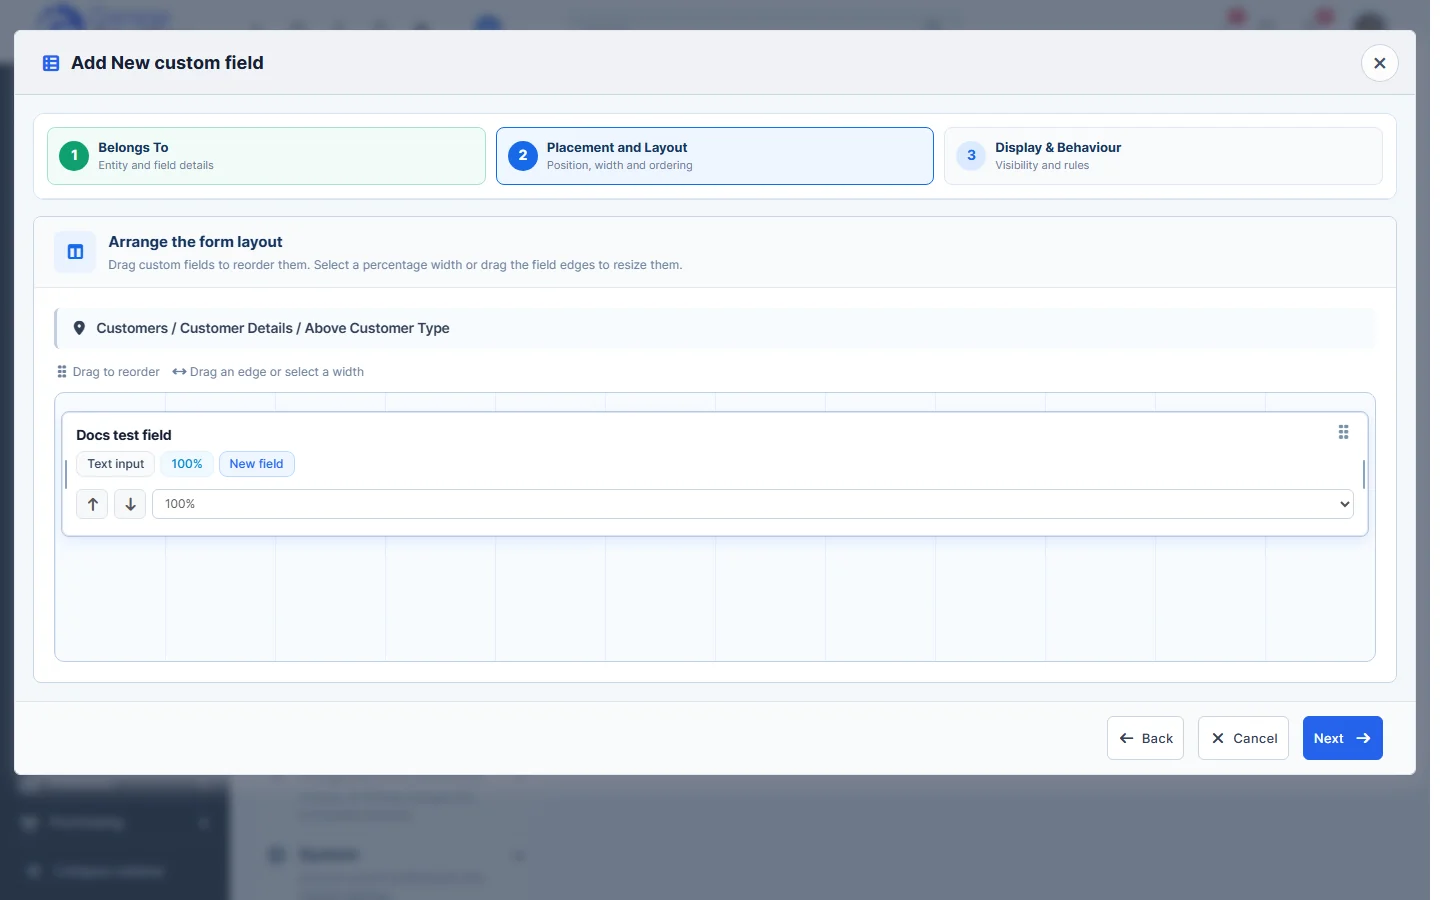
- Under Arrange the form layout, drag fields to reorder them and choose the field’s width (for example 50% to put two fields side by side). Click Next.
- Under Set behaviour and visibility, choose:
- Field Behaviour: Field enabled, Read-only, Required field, Unique value and the Default Value Source.
- Admin Area: Show on Admin Table, Available as a Filter, Include in Admin Search, Include in Exports.
- Customer Area: Show on Customer Portal and Disallow customer to edit this field.
- Sensitive Field: restrict it to administrators, mask or encrypt the value, or exclude it from exports, AI and the API.
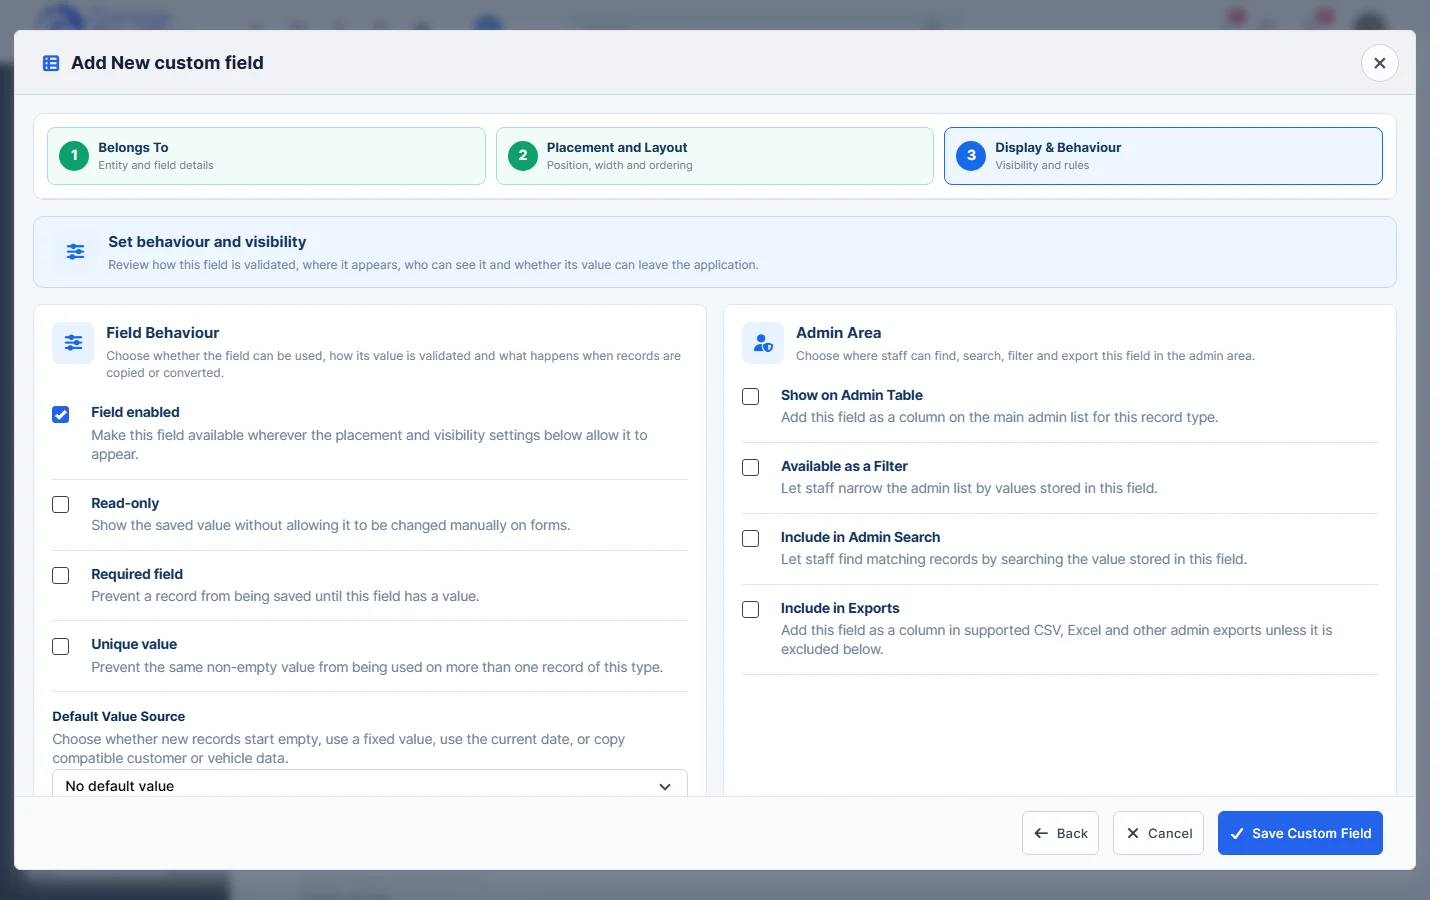
- Click Save Custom Field.
Tip: custom fields for customers can be shown on PDFs by adding their merge fields to the customer information format.