
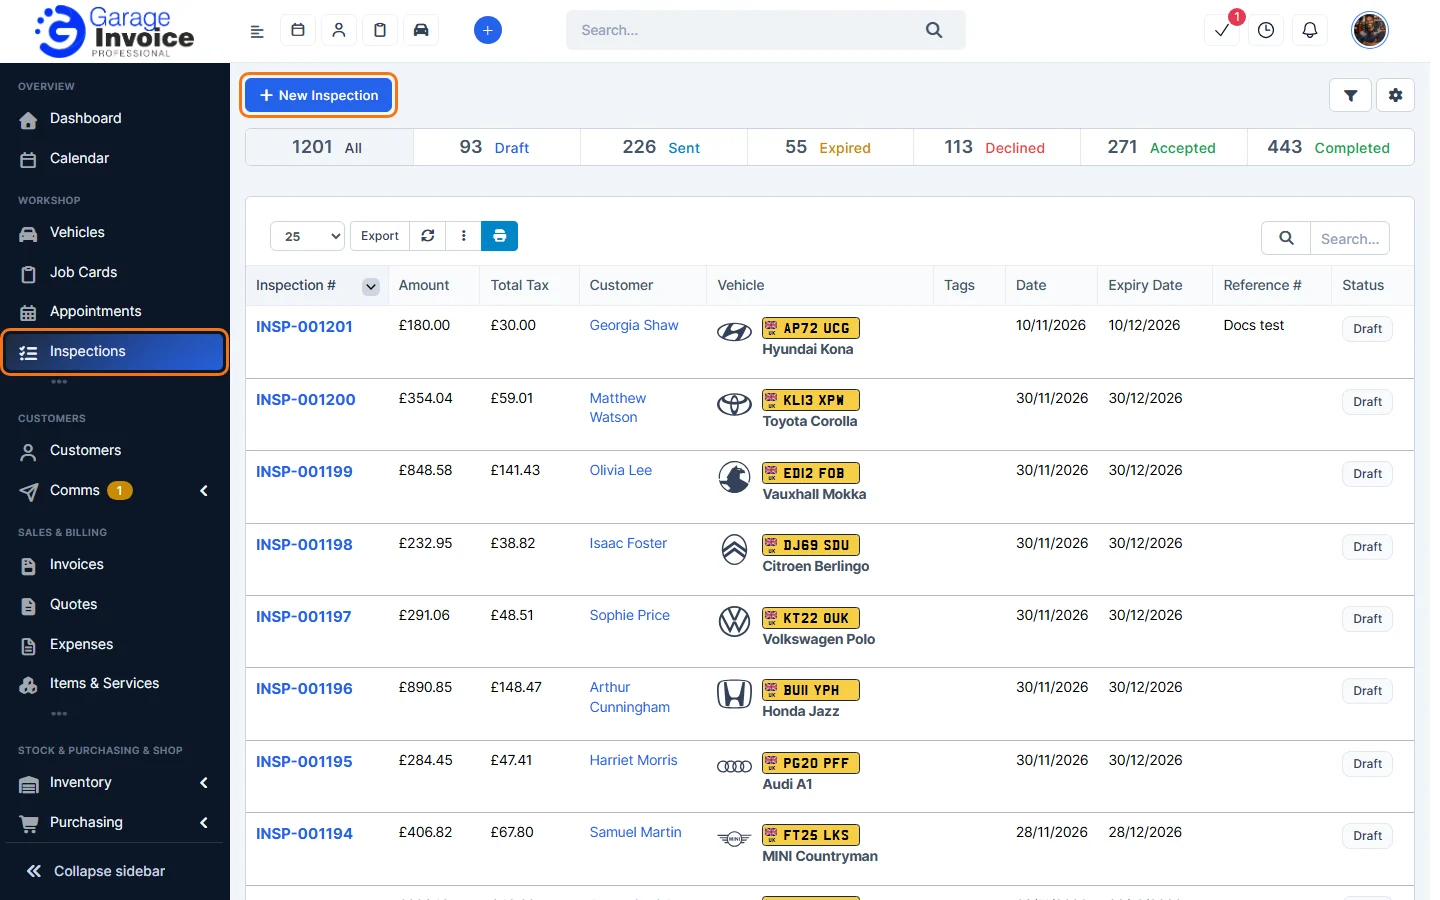
- Click Inspections in the sidebar and click New Inspection.
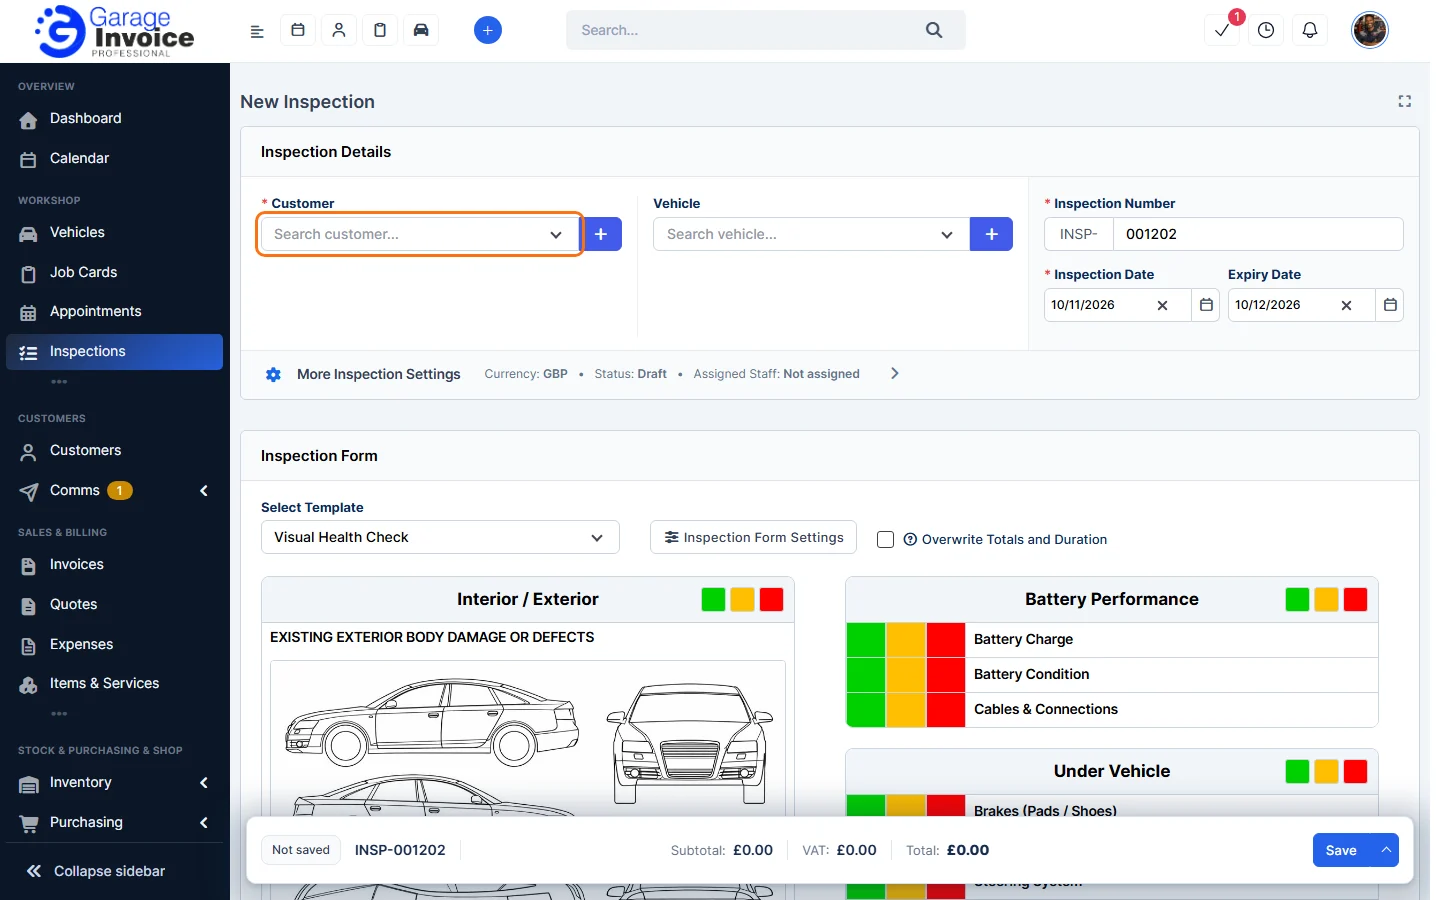
- Under Inspection Details, choose the Customer. Click + to add a new customer.
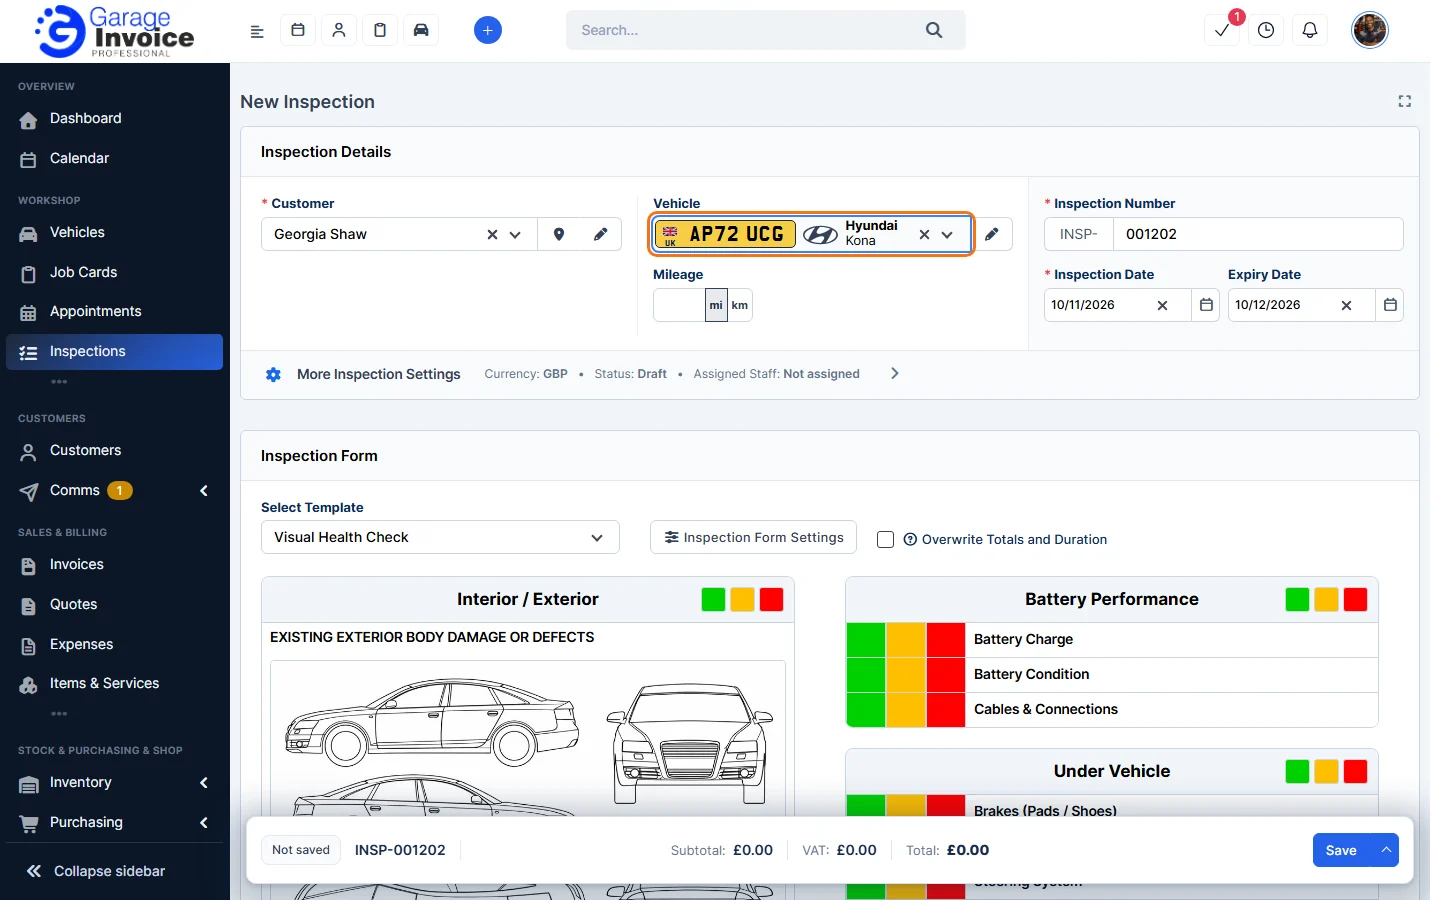
- Choose the Vehicle and enter the Mileage if you like (mi or km). The Inspection Number, Inspection Date and Expiry Date are filled in for you, and you can change them.
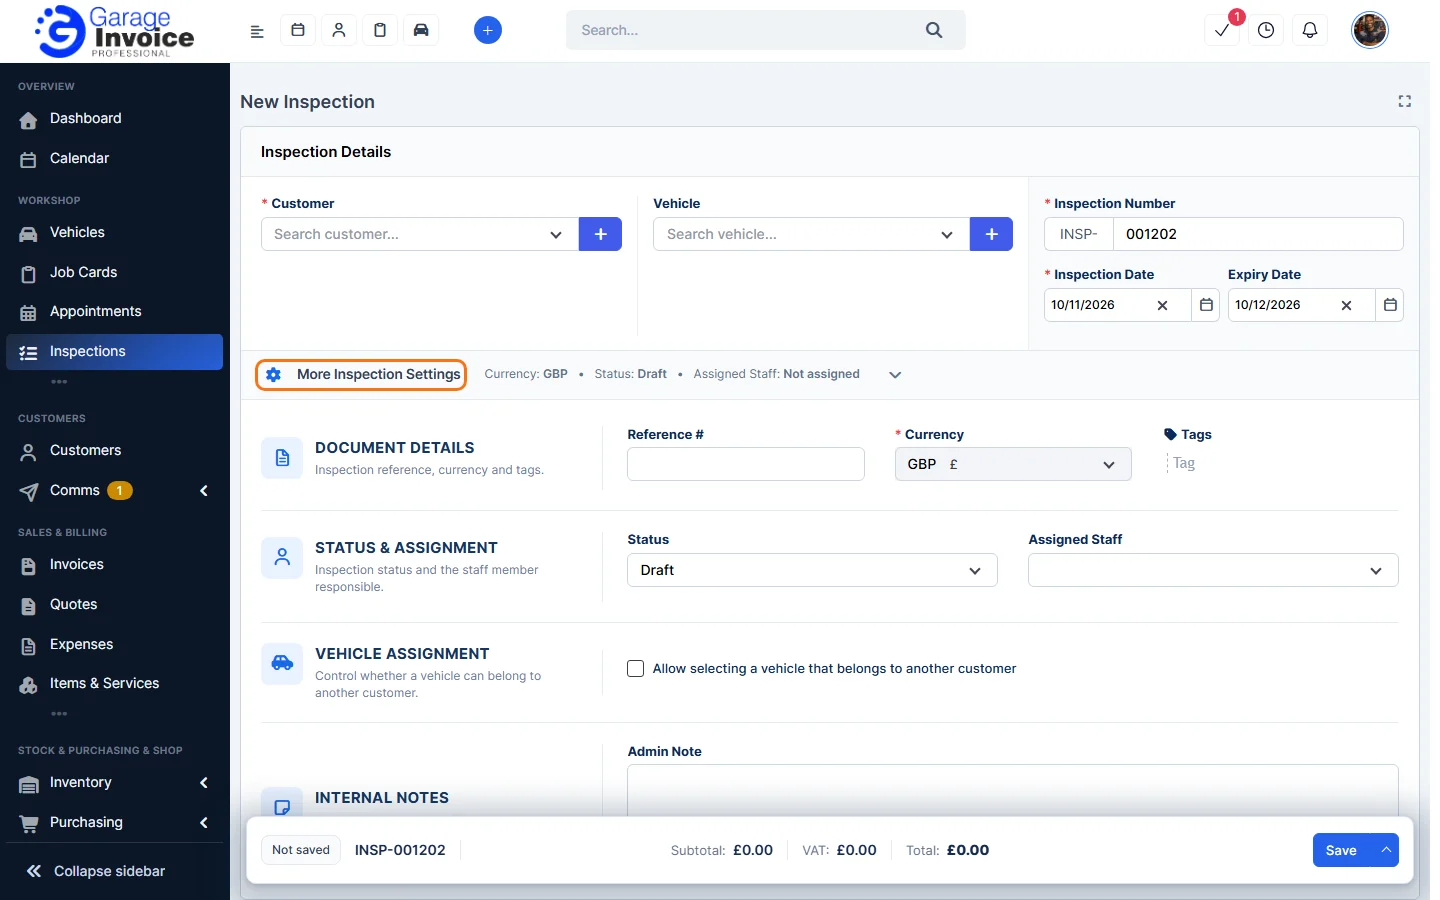
- Click More Inspection Settings for more options:
- Reference #, Currency and Tags.
- Status and Assigned Staff (the staff member responsible).
- Allow selecting a vehicle that belongs to another customer.
- Admin Note: an internal note.
- Under Inspection Form, choose the checklist in Select Template. The template’s checks appear below. See Inspection Templates.
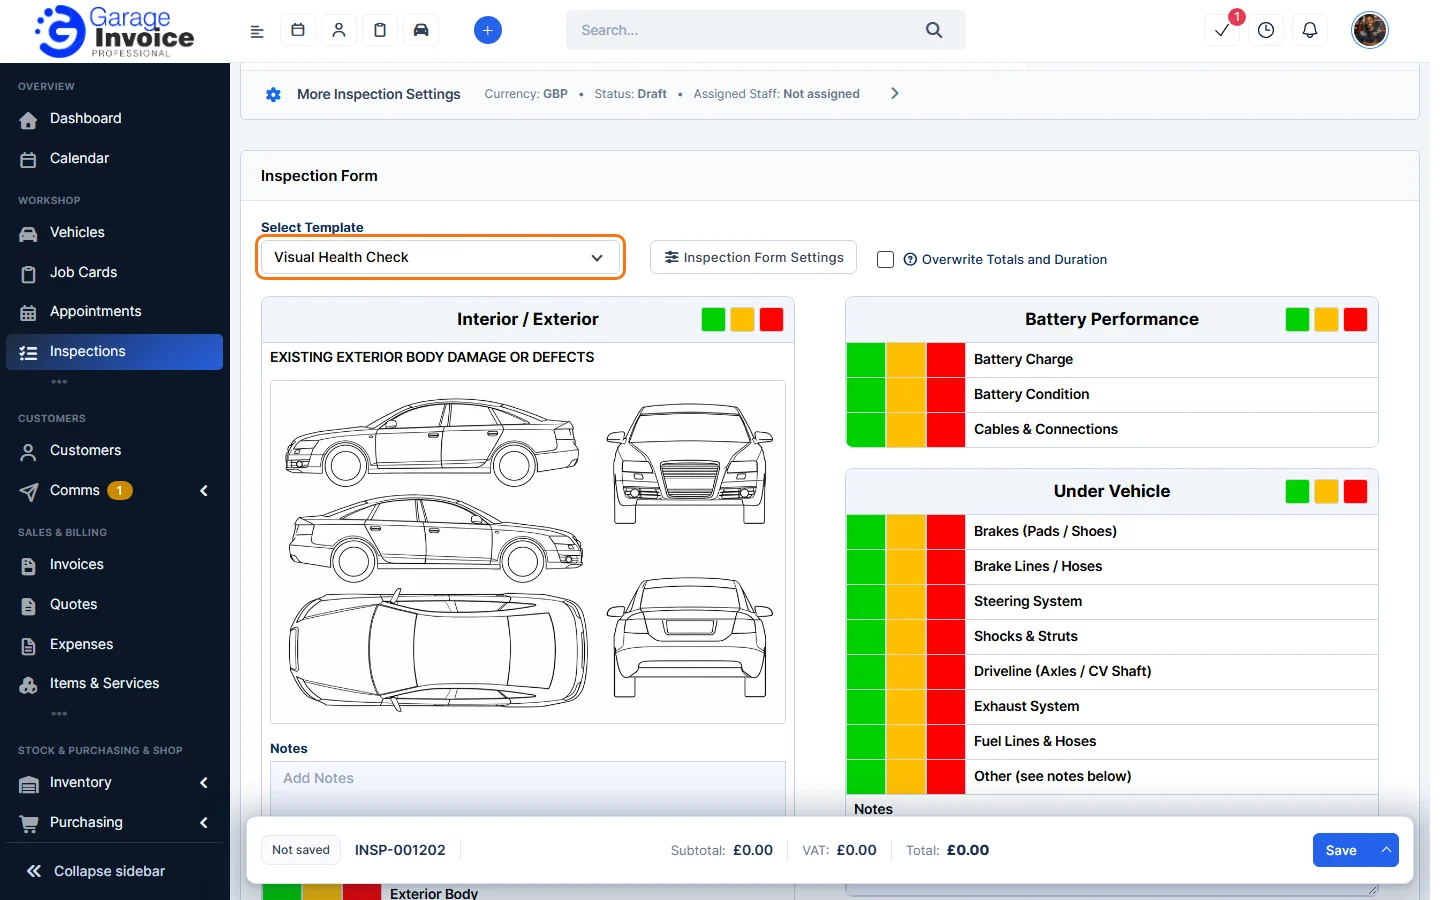
- Fill in the checks now, or save and do it later. See Carry Out an Inspection.
- To charge for work, add parts or labour under Inspection Items: click Search or type a new item, type the item and press Enter, then set the quantity, rate and tax.
- Open Notes & T&Cs to add a Customer Note or Terms & Conditions. Defaults come from Inspection Settings or the customer group.
- Click Save in the bar at the bottom of the screen. Click the arrow next to it for Save & Send or Save and Send Later.
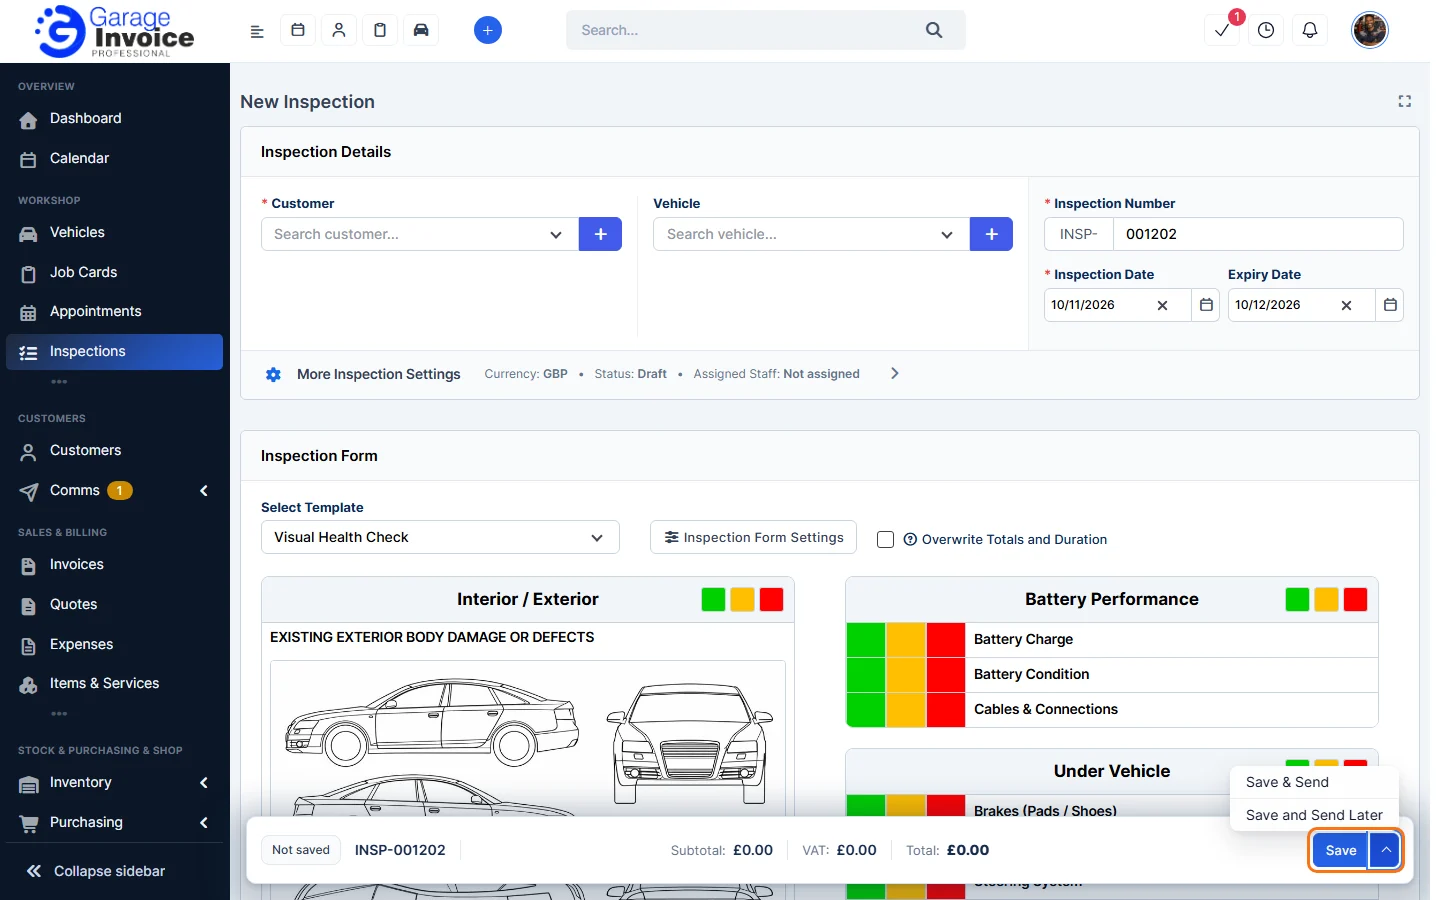
The inspection is saved and opens in the Inspections list.
Tip: to start an inspection for a vehicle you already have open, use its Inspections tab. See Vehicle Inspections.
Feature Vehicle inspections: see what it does and how it fits your workshop.