How do I edit/add images to my website?
Estimated reading: 2 minutes
330 views
Edit existing Image
- Go to Dashboard page in your account.
- Select the required site (click on site’s image).
- Click Edit Site button.
- Click Preview Your Website button located under My Business Details section.

- Navigate to a Page that you would like to edit using a navigation menu located on top of your site.
- Click the green Website Builder button located on the top bar.

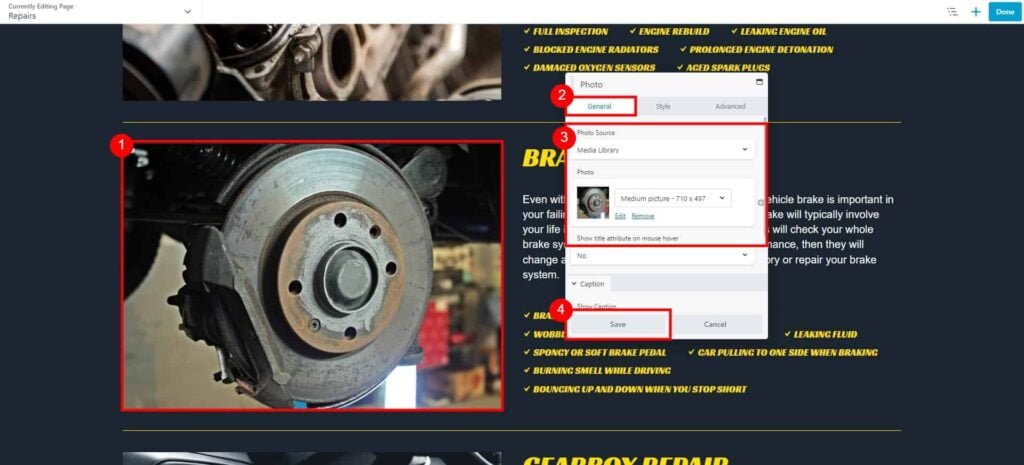
- Once the Website Builder is loaded, click on an image that you would like to edit.
- On General tab, click Edit to replace image or Remove, to remove it from your page.
Click Save button to apply changes.

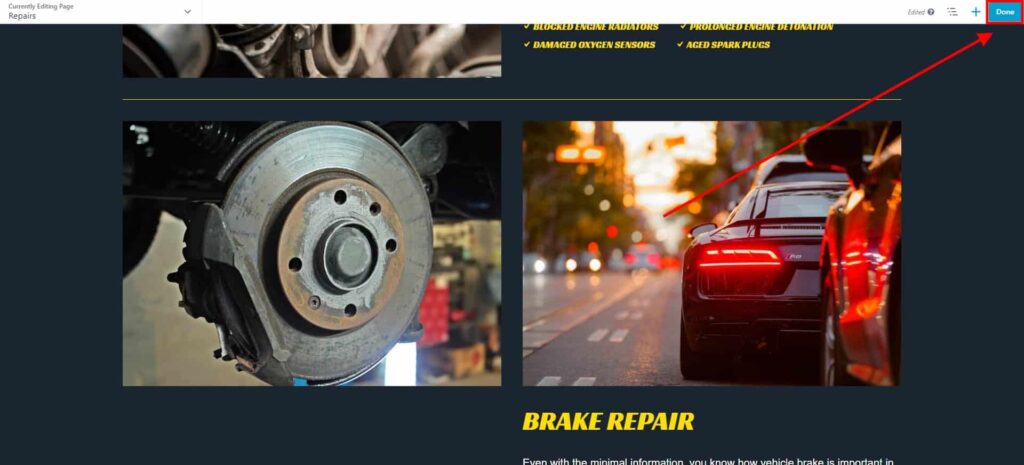
You can style your image from the Style tab. Adjust width, crop image, add borders and more. - Click Done → Publish to save changes to your page.

Add a New Image
- Go to Dashboard page in your account.
- Select the required site (click on site’s image).
- Click Edit Site button.
- Click Preview Your Website button located under My Business Details section.

- Navigate to a Page that you would like to edit using a navigation menu located on top of your site.
- Click the green Website Builder button located on the top bar.

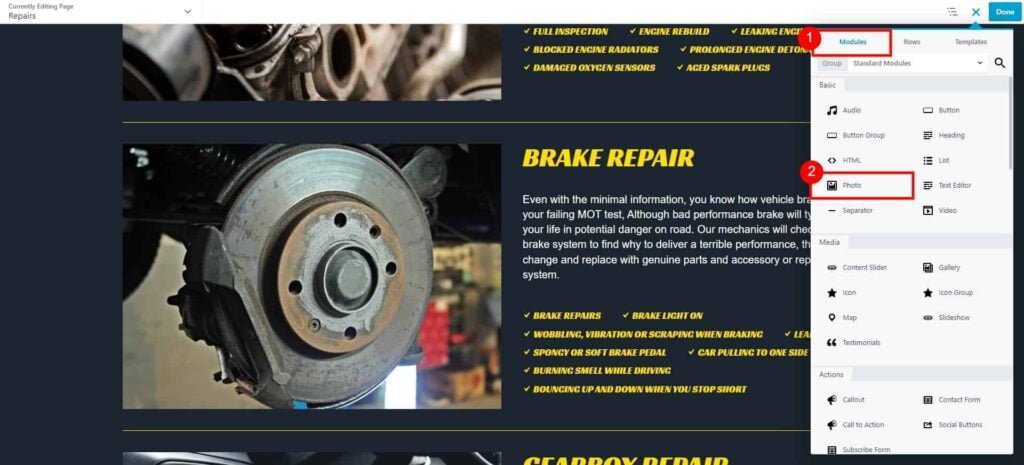
- Once the Website Builder is loaded, click on plus button to open a Content Panel.

- On the Modules tab, click and drag to your page a Photo module.

- On General tab, click Select Photo.
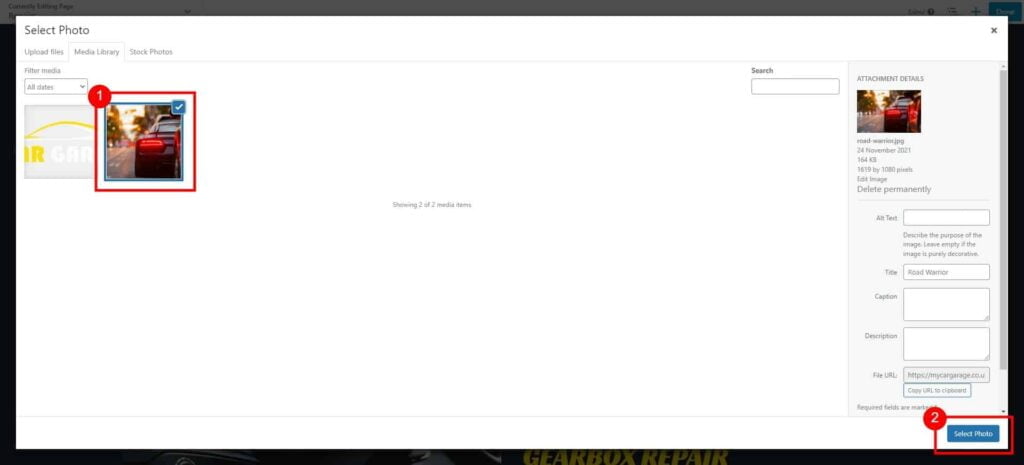
Select your image from Media Library or Stock Photos tab, or Upload file from your device.
Click on an image and click Select Photo.

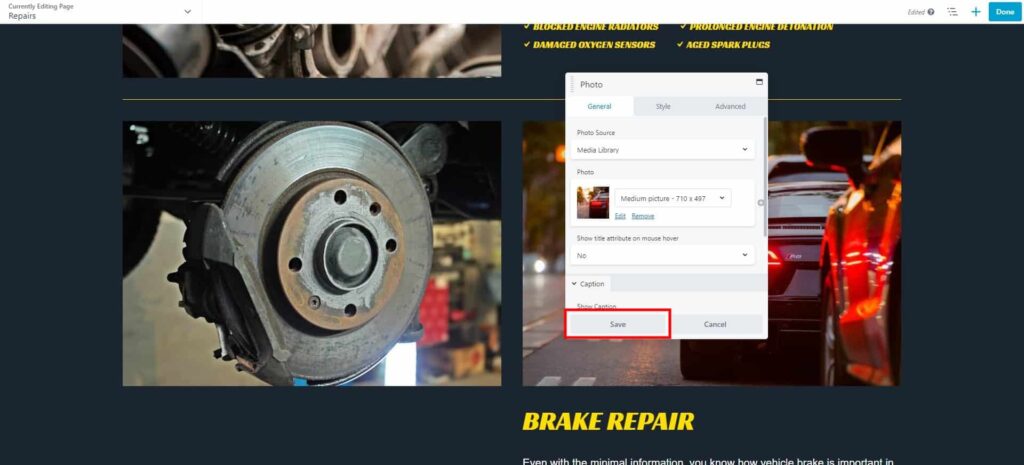
Adjust image settings, and additional styling options on Style tab.
Click Save button to apply changes.

- New Image has been added to your to your page.
Click Done → Publish to save changes to your page.


