How to set up email on Android
- Open your android mobile, swipe up from the bottom of the screen to the top. Locate the Settings icon and open it.

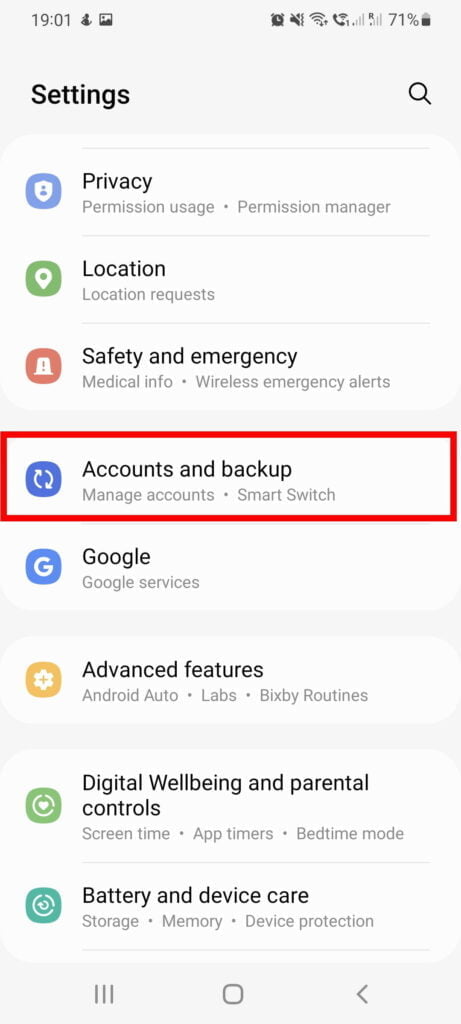
- Scroll down to the Accounts and backups section and tap on it.

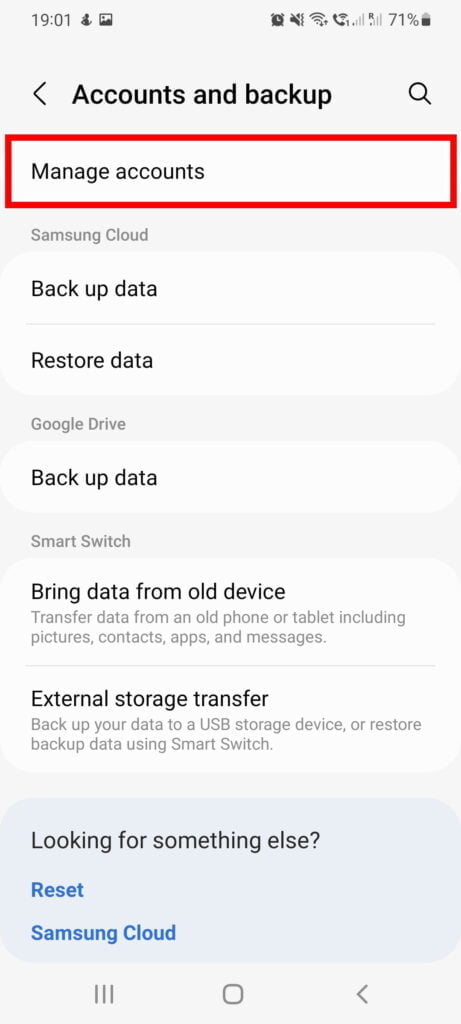
- Tap on Manage accounts.

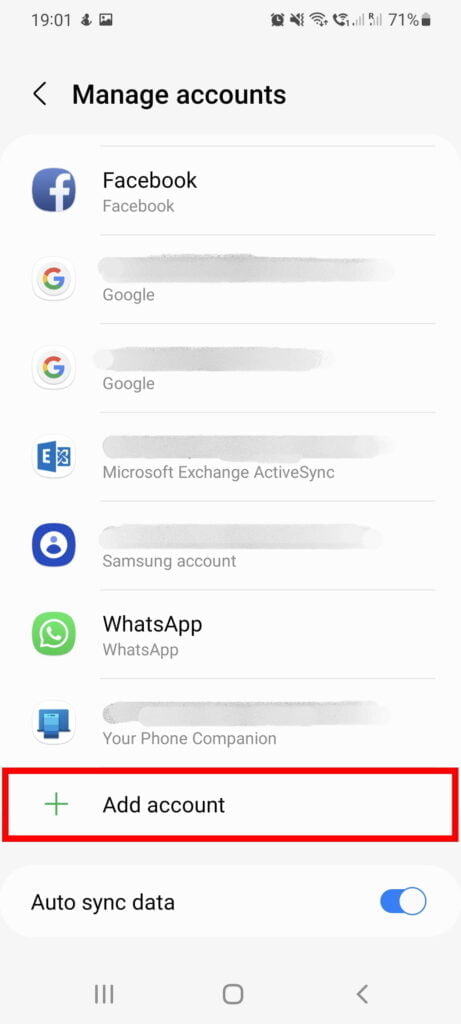
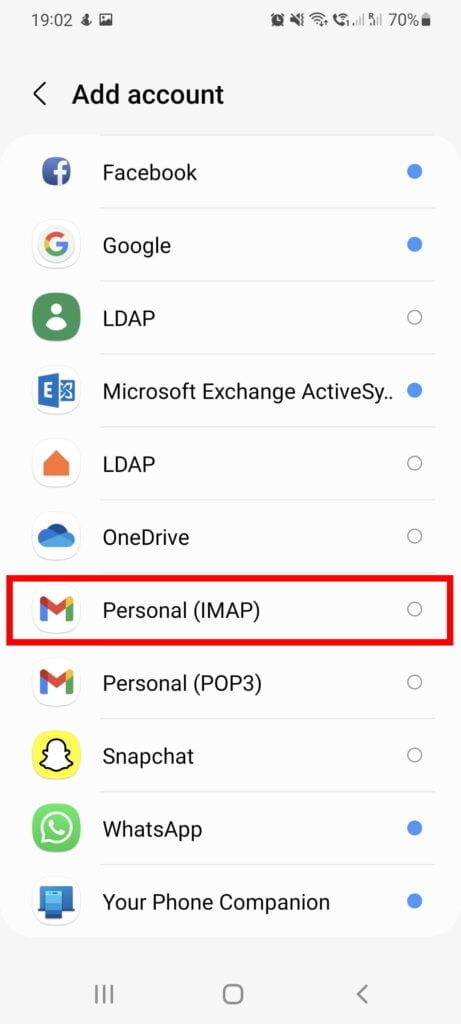
- Now tap on the + Add account option.

- Tap on the Personal (IMAP) option.

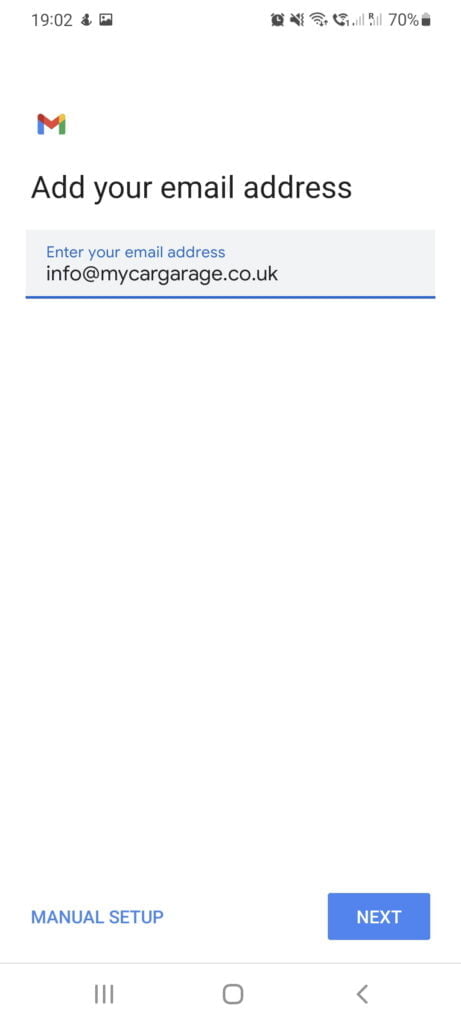
- In the “Add your email address” section, enter your full email address.
In this example, we’ve used info@mycargarage.co.uk

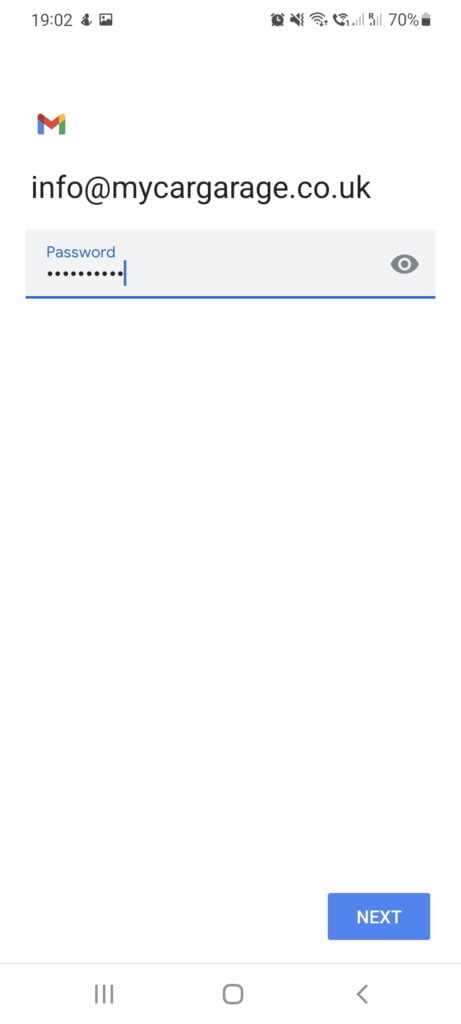
Then tap Next and enter your password. Tap on the Next button again.

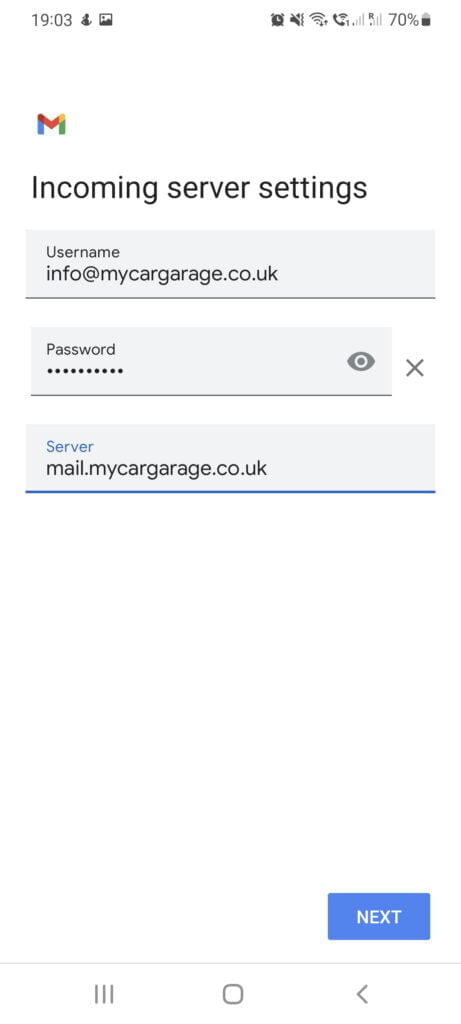
- On Incoming server settings screen, tap on Server field and adjust it accordingly.
For this field, you want to use your domain name with “mail.” in front of it.
In this example, we’ve used mail.mycargarage.co.uk

Please ensure your username is your full email address, e.g. info@mycargarage.co.uk
Tap Next.
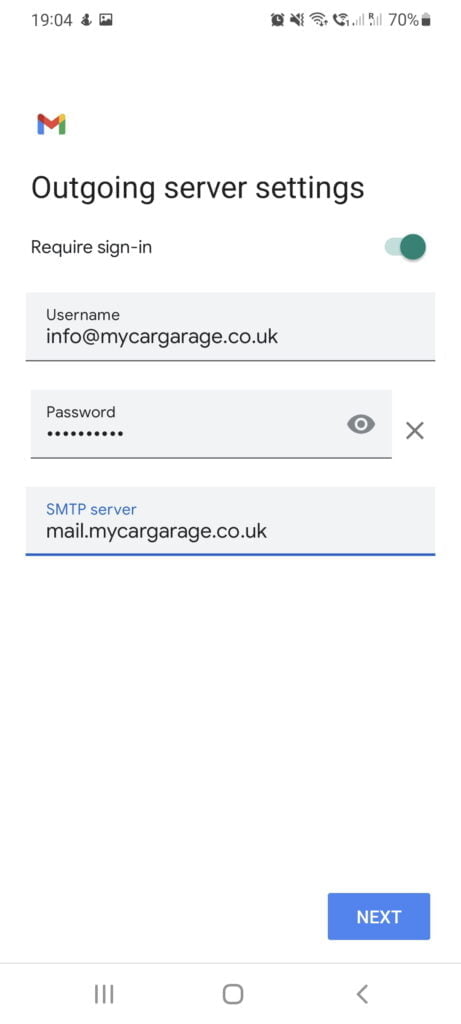
- On Outgoing server settings screen, tap on SMTP Server field and adjust it accordingly.
For this field, you want to use your domain name with “mail.” in front of it.
In this example, we’ve used mail.mycargarage.co.uk
 Please ensure your username is your full email address, e.g. info@mycargarage.co.uk
Tap Next. - Under the Accounts option, you can select Email Sync Frequency and some other options.
Select it as per your needs and tap Next.
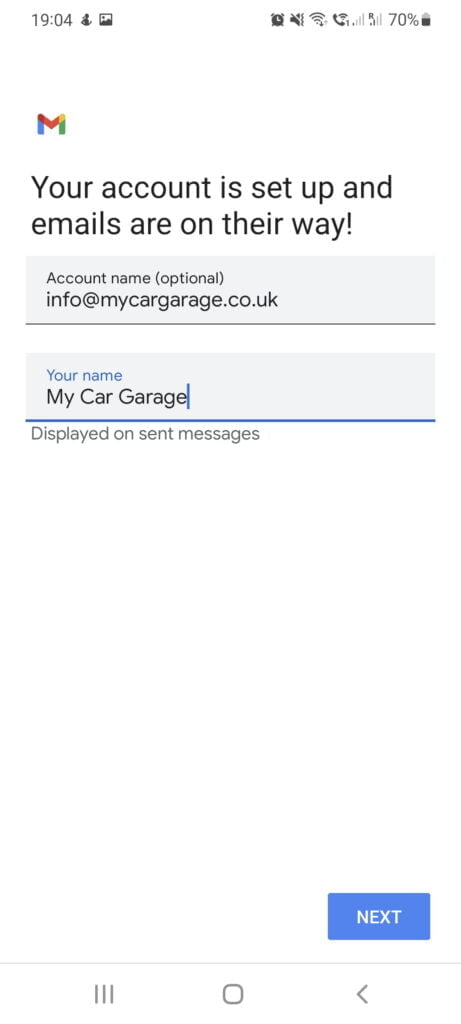
- Under Your name, enter your name/business name and tap Next.

Your email account has been added!
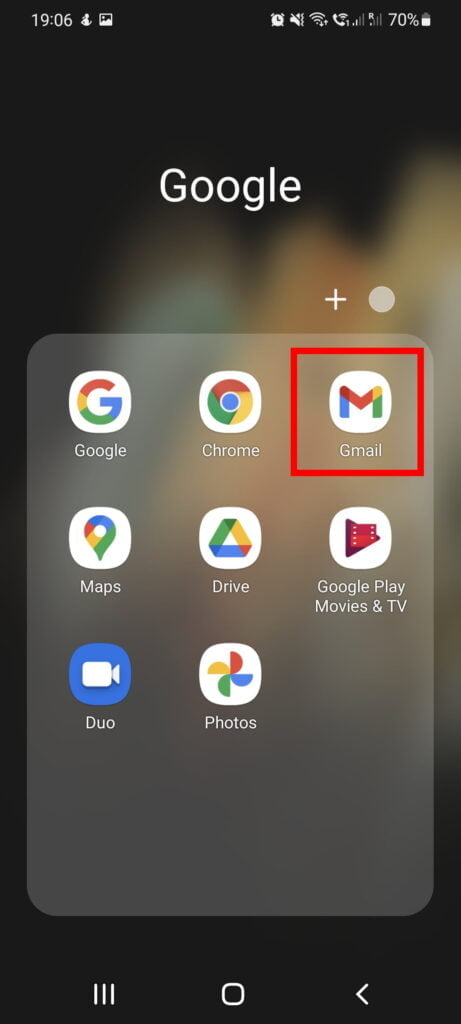
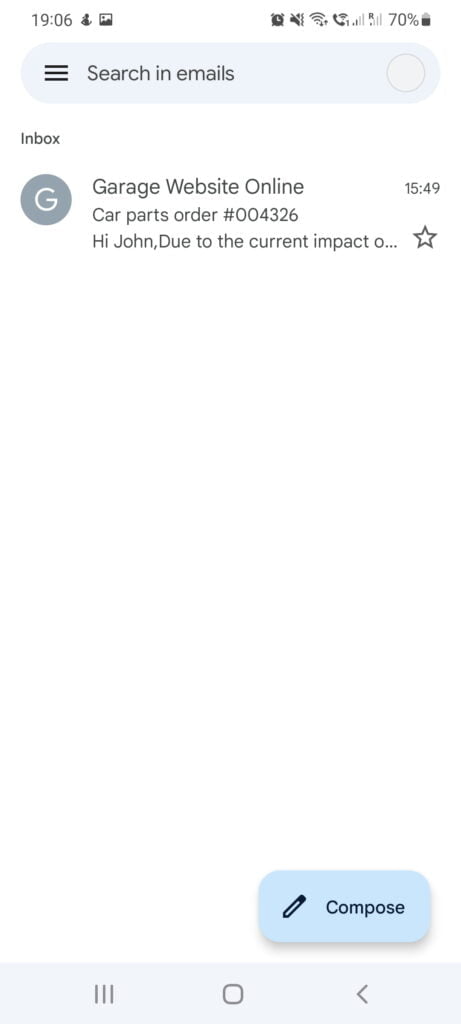
You can view/compose emails by going to Gmail app on your phone.
